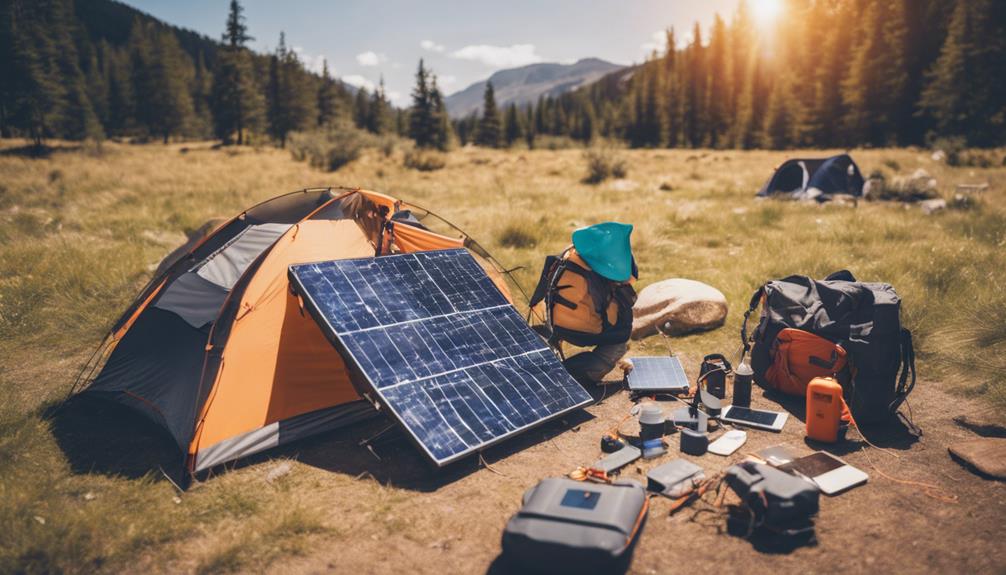
Small-scale solar projects can be rewarding and practical when scoped correctly. This guide explains the difference between fabricating a DIY PV module and assembling a safe, small off-grid or portable solar system from commercial parts. It focuses on realistic use cases (sheds, RVs, workshops, lighting), how to size a system, which components you need, important safety limits, and when to get permits or professional help.
Safety warning: Solar electricity, battery storage, and rooftop work carry real hazards: electric shock, arc flash, fire, chemical risk, and fall injuries. Before starting any construction, plan for proper fusing, listed connectors and enclosures, ventilation for batteries, and never connect homemade equipment to household wiring or the grid without approved, certified equipment and utility permission. For rooftop or grid-connected work, obtain permits and inspections as required in your jurisdiction.
What “DIY solar” can mean
There are two very different projects people call “homemade solar”:
- Handmade PV module: assembling individual solar cells into a framed panel. This is largely educational—commercial modules undergo testing and certification for weather, electrical insulation, fire classification, and mechanical loads that a home-built module won’t match.
- DIY solar system: using commercially manufactured PV modules plus a charge controller, battery, inverter (if AC loads are needed), proper wiring, protection, and mounting. This approach is safer, more reliable, and the preferred route for useful, durable systems.
Decide the system type
- Small DC system: PV module → charge controller → battery → DC loads (lighting, USB chargers)
- Off-grid AC system: PV array → charge controller or hybrid inverter → battery → inverter → AC loads
- Grid-tied system: PV array → certified grid-interactive inverter → utility interconnection (requires permits and utility approval)
- Hybrid/backup: PV + battery + hybrid inverter or transfer equipment designed for safe islanding during outages
Start with the load: W and Wh
List each device, its power in watts (W), and how many hours per day it runs. Power (W) is the rate of use; energy is power over time (Wh or kWh).
Example: a 400 W appliance running 9 hours uses 400 W × 9 h = 3,600 Wh = 3.6 kWh.
Estimate PV capacity (planning formula)
Use this planning estimate:
Required PV capacity ≈ daily energy demand ÷ (local peak sun hours × overall system efficiency)
Overall system efficiency accounts for panel temperature & soiling, wiring losses, charge-controller and battery losses, and inverter efficiency. As an illustrative example:
- Daily demand: 3.6 kWh
- Peak sun hours (location-specific): 4 hours
- Assumed overall efficiency: 0.6 (60%)
Required PV ≈ 3.6 kWh ÷ (4 h × 0.6) ≈ 1.5 kW of PV. This is an estimate—seasonal variation, shading, and local climate change results.
Choose system voltage and architecture
Common nominal voltages are 12 V, 24 V, and 48 V. Higher system voltages reduce current for a given power and allow smaller conductors, but equipment must be rated accordingly. Pick battery and inverter voltages that match available, listed components and the expected loads.
Essential components
- PV module(s) or PV array (prefer commercially certified modules for permanent outdoor use)
- Mounting hardware and appropriate sealing for roof or ground mounts
- PV-rated wiring, connectors, junction boxes, and strain relief
- Charge controller (MPPT preferred for higher efficiency when voltages differ)
- Battery energy storage system (BESS) with an appropriate battery-management system for lithium batteries
- Inverter or DC–DC converter for AC or different DC voltages
- Fuses, circuit breakers, disconnects, grounding/bonding, and monitoring equipment
Battery safety and selection
Batteries are often the most hazardous part of a DIY system. Use listed, purpose-built battery packs and a proper BMS for lithium systems. Avoid assembling packs from loose reclaimed lithium cells—these can short, overheat, or enter thermal runaway. Ensure adequate ventilation for venting lead-acid batteries, install correct fusing and physical protection, and follow recycling and disposal rules for end-of-life batteries.
When to get permits or hire a professional
- Any rooftop installation, structural changes, or roof penetrations
- Grid-tied systems or any connection to the service panel
- Permanent battery systems inside or adjacent to a dwelling
- High-voltage DC strings or large power installations
- When local codes, utility interconnection, or insurance require certified equipment or inspections
Quick practical boundaries
- Keep DIY projects to low-voltage, standalone, portable, or educational scopes unless you use certified components and follow local rules.
- Prefer commercial PV modules and listed inverters and batteries for permanent installations.
- Use PV-rated connectors, proper enclosures, and correctly sized conductors and overcurrent protection.
Final checklist
- Load calculated in Wh/kWh
- Local peak sun hours estimated
- PV sizing includes realistic losses and efficiencies
- Components are electrically matched and appropriately rated
- Battery installation and protection planned with a BMS or equivalent
- PV-rated wiring, fuses, disconnects, and weather-rated enclosures used
- Permits, inspections, and utility approvals obtained when required
- Do not connect homemade modules to household wiring or the grid without certified equipment and approvals
When in doubt, consult a licensed electrician or a certified solar installer. The safest and most reliable DIY outcome is often assembling a compact, low-voltage standalone system from certified modules and listed balance-of-system components rather than fabricating an untested PV module yourself.