Intro — who this is for
If you like weekend projects and understand basic electrical safety, a solar panel kit can be tempting. This guide helps homeowners decide when a ready‑made kit makes sense (portable, RV, shed, or small off‑grid needs) and when a professionally designed install is safer and smarter (most whole‑home rooftop, grid‑tied systems, or systems with batteries). It also lists practical next steps: sizing, permits, safety checks, and vendor vetting.
TL;DR — quick verdict
Buy a kit if you need a portable/plug‑and‑play system, an RV/boat setup, or a small off‑grid shed/backup solution and you’re comfortable with wiring and local code. For full rooftop, grid‑tied systems that interconnect with your utility (and especially systems with battery backup), get professional quotes: permitting, roof penetrations, and interconnection rules add complexity and liability.
Types of solar kits and who they fit
Solar panel kits vary. Know the basic categories before you shop:
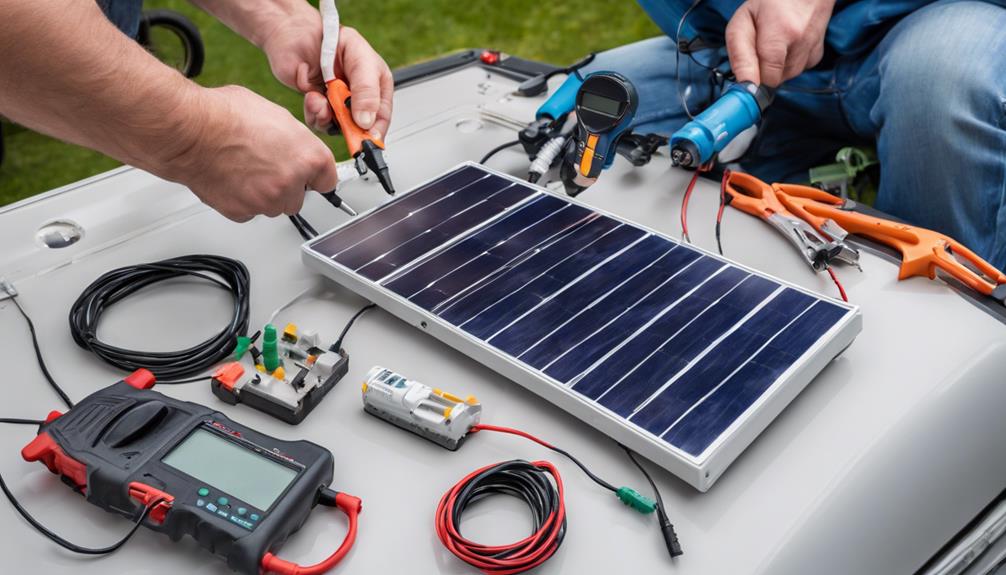
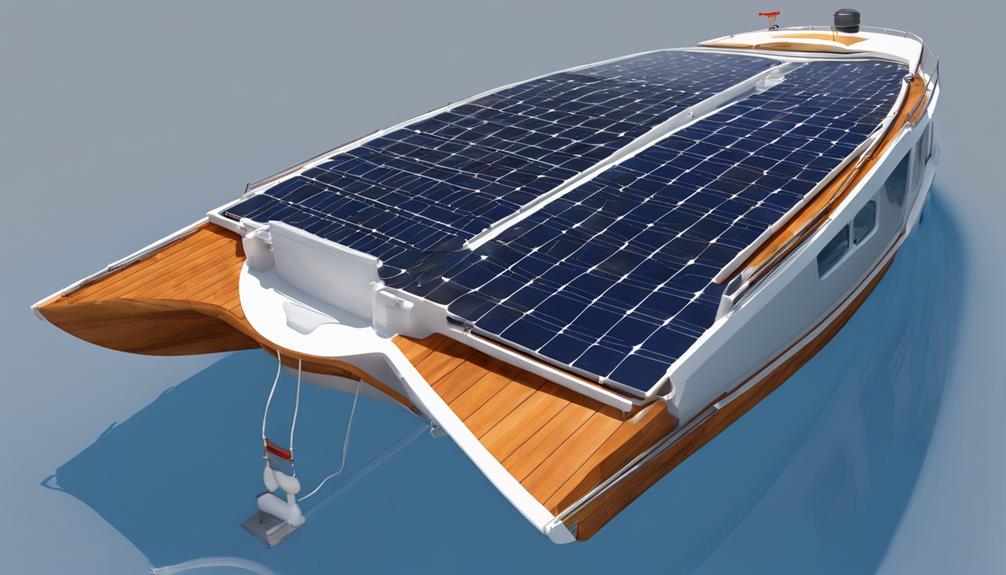
- Portable / plug‑and‑play kits: Small (typically a few hundred watts up to under 1 kW). Designed for camping, RVs, or temporary backup. May plug into outlets or charge batteries. Legal and safety rules for grid connection vary by jurisdiction.
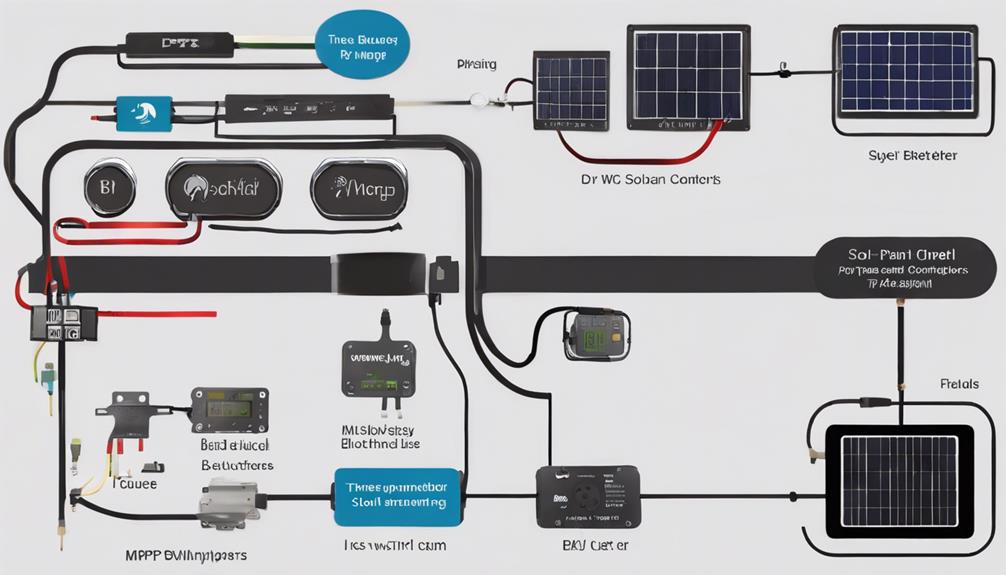
- Off‑grid kits: Include panels, charge controller (MPPT), battery bank, inverter — sized to run independent loads. Suited for cabins, remote sheds, and RVs.
- Rooftop DIY kits: Larger kits with racking, panels, combiner boxes, and an inverter. Intended for rooftop installs but often require advanced skills and careful permitting.
- Hybrid / storage kits: Bundled systems with battery and inverter/charger for backup or time‑of‑use shifting. These increase complexity (AC‑coupled vs DC‑coupled options).
One‑row comparison: portable kit vs rooftop DIY kit vs pro install
| Type | Typical size | Pros | Cons |
|---|---|---|---|
| Portable / Plug‑and‑play | <1 kW | Easy setup, mobile, low cost | Limited capacity, legal limits for grid‑tie, lower efficiency |
| Rooftop DIY kit | 1–10 kW | Lower equipment cost, control over install | Roof penetrations, code risk, complex interconnection |
| Professional install | 3–10+ kW | Permits handled, warranties, optimized design | Higher upfront cost |
How to decide: 4 practical steps
1) Know your loads — perform an energy audit
Pull one year of electric bills to find your annual kWh. For a quick sense, many U.S. homes run 5–10 kW systems, but your needs could be much smaller or larger. Smaller kits often serve partial loads only (lights, fridge, chargers).
2) Run a production estimate (use PVWatts)
Use NREL’s PVWatts solar calculator to enter your address and a candidate system size to estimate annual production. This gives a site‑specific expectation based on local sun, tilt, and shading. CTA: Run PVWatts (NREL’s PVWatts) before you buy — it’s the standard free tool for preliminary sizing.
3) Check roof condition, orientation, shading, permitting and utility rules
Inspect roof age and slope; don’t mount panels on a roof due for replacement. Contact your local building department to confirm permit and inspection requirements, and ask your utility about interconnection and net‑metering rules. The U.S. Department of Energy’s homeowner guidance explains when storage changes permitting or interconnection steps. CTA: Call your permitting office and utility before purchasing a rooftop kit.
4) Compare total installed cost, warranties, and incentives
Look beyond the kit price: factor in racking, conduit, breakers, shipping, tools, permits, and any electrician costs. Verify panel and inverter certifications (UL/ETL/IEC) and product + performance warranties. Check federal and state incentives — for federal tax credits, consult the IRS Residential Clean Energy Credit page for current eligibility and deadlines. CTA: Get three quotes (including one pro install) to compare total system cost and expected payback.
Safety, code & certification checklist
- Only buy panels, inverters, and batteries with recognized certifications (UL/ETL/IEC listed).
- For grid‑tie systems, use a certified inverter with anti‑islanding protection; do not attempt to “plug” a kit into an outlet to feed the grid—this is unsafe and usually illegal.
- Follow local roof‑attachment standards for flashings and water management to avoid leaks and insurance problems.
- Obtain permits and inspections; many utilities require an interconnection agreement and approved inspection before net‑metering is enabled.
- If using battery storage, follow manufacturer ventilation, clearance, and fire‑safety guidance, and check local fire department rules.
Batteries & storage — quick primer
Key battery terms: usable capacity (kWh you can actually draw), depth of discharge (DoD), cycle life, and round‑trip efficiency. Lithium‑ion batteries typically offer higher usable DoD (80–95%), longer cycle life, and higher cost compared with lead‑acid (lower DoD and shorter life but lower upfront cost). Some incentives require minimum battery capacity (for example, certain programs specify a 3 kWh minimum). If you plan backup for essential circuits, have a battery sizing discussion with a storage specialist — you need to translate loads (kW) and desired outage duration (hours) into kWh of storage plus inverter capacity.
Red flags & how to vet sellers
- High‑pressure sales tactics or “act now to get huge discounts” offers — step away and get written estimates.
- No itemized equipment list or unclear warranty transfer terms.
- No local references or poor reviews; verify claims with photos and site visits when possible.
- Unwillingness to handle permits or interconnection paperwork for grid‑tie systems.
Ask sellers to provide an itemized equipment list, warranty PDFs, proof of certification (UL/ETL), and references. For installers, check credentials (NABCEP certification and state contractor licenses where applicable).
DIY vs professional — quick decision checklist
- Good candidate for DIY: small portable or off‑grid kit, comfortable with wiring and ladders, roof in good condition, local code allows DIY installs.
- Hire a pro if: you want a whole‑home grid‑tied or hybrid system, your roof will be penetrated, you want warranty + financing, or you prefer the installer to manage permits and interconnection.
Next steps
1) Run PVWatts for your address to estimate production. 2) Gather one year of electric bills and run three quotes (include at least one pro install). 3) Contact your local building department and utility to confirm permits and interconnection rules. 4) Check the IRS Residential Clean Energy Credit page and your state incentives for current eligibility and deadlines before purchasing.
Closing
Ready‑made kits are great for portable power, RVs, and small off‑grid projects. For full rooftop, grid‑tied systems — particularly with batteries — a professional design and install is usually the safer and more reliable path. Do your homework with PVWatts, verify certifications and warranties, get three quotes, and confirm permits and interconnection rules before you buy.
Published: June 2024. Verify current incentive and interconnection rules on official pages (IRS, your state energy office, and your utility) at the time you purchase.