Start with a load audit (daily Wh), use Peak Sun Hours (PSH) for production estimates, choose MPPT charge controllers, prefer LiFePO4 house batteries for most new installs, and follow wiring, fusing and safety best practices. Small weekend kits (100–300 W) suit casual users; 300–800 W + 200–400 Ah LiFePO4 suits part-time off-grid; full-time AC use usually needs generator or shore power.
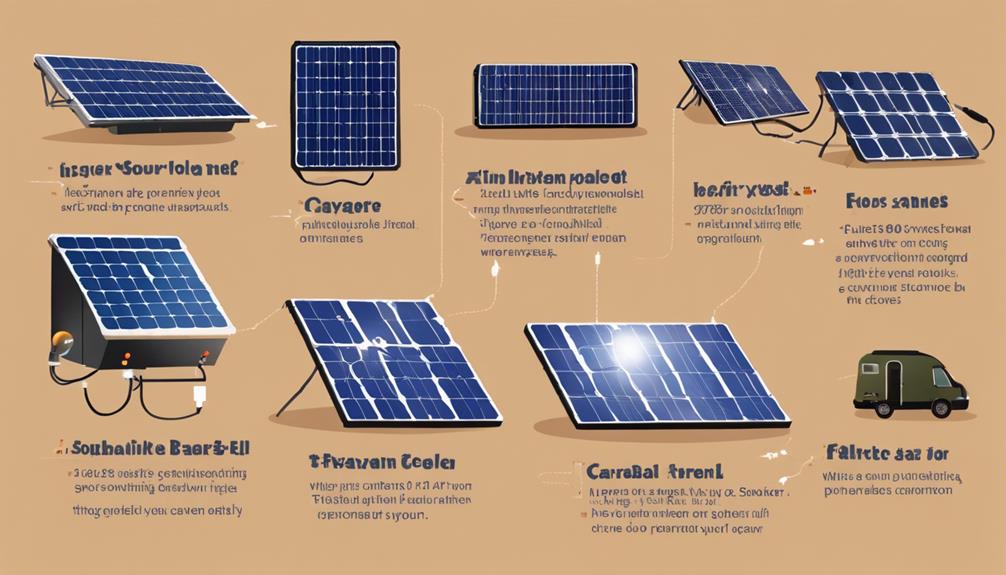
How caravan (RV) solar works — components at a glance
Basic flow: solar panels (Wp) → MPPT charge controller → battery bank (house battery) → loads & inverter. For alternator charging add a DC‑DC charger (alternator‑to‑house).

Step 1 — Do a load audit (daily Wh)
List every device, its running watts and hours per day, then multiply to get Wh/day. Measure with a meter where possible (Kill‑A‑Watt or inline meter).
Formula: Device Wh/day = Watts × Hours/day. Total Wh/day = sum of all devices.
Example short audit (sample caravan):
- 12V fridge: 40 W average × 24 h = 960 Wh/day
- LED lights: 20 W × 4 h = 80 Wh/day
- Phone/laptop charging: 60 W × 3 h = 180 Wh/day
- Water pump, fans, misc: 100 Wh/day
Total ≈ 1,320 Wh/day.
Step 2 — From Wh/day to battery and panels
Convert to amp‑hours at system voltage (12 V typical): Ah/day = Wh/day ÷ V. For the example: 1,320 Wh ÷ 12 V = 110 Ah/day.
Battery sizing: decide usable DoD and days of autonomy. Example rule‑of‑thumb: LiFePO4 usable DoD ~90% (manufacturers vary). For one day autonomy: Battery Ah = Ah/day ÷ usable DoD. Example: 110 Ah ÷ 0.9 ≈ 122 Ah → round to 150 Ah LiFePO4 for margin.
Panel production estimate (use PSH)
Daily kWh ≈ array kW × PSH × system performance ratio (0.75–0.85 for small RV systems). Use NREL PVWatts (pvwatts.nrel.gov) for location PSH.
Example: 400 W roof array = 0.4 kW. With 4.5 PSH and 0.8 performance: 0.4 × 4.5 × 0.8 ≈ 1.44 kWh/day — enough to cover the example 1.32 kWh/day in good sun. (Real output varies seasonally.)
Workable system examples
Example A — Weekend/light use
- Load: ~1,200 Wh/day (lights, devices, small fridge)
- Battery: 100–150 Ah LiFePO4 (12 V) gives comfortable margin
- Panels: 200–400 W rooftop (two 200 W panels) — expect ~0.6–1.6 kWh/day depending on PSH
- Controller: 30–40 A MPPT
Example B — Part‑time off‑grid (fridge + more devices)
- Load: ~2,500–3,500 Wh/day (bigger fridge, TV, more charging)
- Battery: 200–400 Ah LiFePO4 (12 V or 24 V bank) for 1–2 days autonomy
- Panels: 600–1,000 W total (roof + portable panels) — expect ~2–6 kWh/day depending on PSH
- Hybrid charging: MPPT solar + DC‑DC alternator charger + shore charger
Panels: rigid vs flexible (quick comparison)
| Type | Pros | Cons |
|---|---|---|
| Rigid (glass on frame) | Higher efficiency, longer life, better heat tolerance | Heavier, taller profile, needs mounts |
| Flexible / thin‑film / CIGS | Light, low profile, good for curved roofs | Lower efficiency, faster degradation, can stress roof membrane |
Batteries: AGM vs LiFePO4
| Feature | AGM/lead | LiFePO4 |
|---|---|---|
| Usable DoD | ~50% | ~80–90% |
| Cycle life | 300–800 cycles | 2,000+ cycles |
| Weight | Heavier | Much lighter |
| Safety | Well‑understood | Safer chemistry (LiFePO4) but requires BMS, certified cells |
LiFePO4 is the preferred modern choice for most caravan house banks, but must be used with a proper BMS and compatible charging sources (see manufacturer guidance and Renogy/Victron documentation).
MPPT charge controllers & DC‑DC chargers
MPPT controllers are strongly recommended for RV systems because they harvest more energy, especially with higher voltage arrays or partial shading. Size the controller by peak array power and battery voltage: Controller current (A) ≥ Array Watts ÷ Battery Voltage × 1.25 margin. Also confirm Voc (open‑circuit voltage) ratings and Isc limits against panel specs.
Use a DC‑DC charger for alternator charging to safely charge LiFePO4 from the vehicle alternator — it manages voltage, bulk/absorb profiles and isolates alternator alternator/house circuits.
Wiring, fusing and safety checklist
- Use proper cable sizing to limit voltage drop — higher currents at 12 V need thicker cable. Check length and ampacity.
- Place fuses or MCBs close to the battery: between battery and inverter, and between battery and charge controller, sized to expected operating current with a safety margin.
- Use MC4 connectors on panels, and follow manufacturer wiring diagrams for combiner boxes if paralleling modules.
- Install battery enclosure, BMS, temperature sensors and ventilation where required by battery manufacturer and local code.
Quick wiring guide (approximate, check local code and voltage drop):
| Wire (AWG) | Typical safe current (short runs) |
|---|---|
| 12 AWG | ~20 A |
| 8 AWG | ~40–50 A |
| 4 AWG | ~70–85 A |
| 2 AWG | ~100–125 A |
Monitoring and user feedback
Accurate SOC monitoring (shunt‑based monitors like Victron SmartShunt/BMV) is essential to avoid damaging deep discharges and to plan boondocking days. Monitor solar input, battery current and voltage.
Safety, standards and cost expectations
Follow NFPA, RVIA and local electrical code guidance for lithium installations. Use UL/IEC certified batteries and proper enclosures. Mitigate thermal‑runaway risk with a BMS, containment, alarm and correct charging hardware.
Costs (estimates, 2025–2026): small 200–400 W kits (panels, MPPT, basic battery) ~$1k–$4k; larger 1–3 kW systems $5k–$15k depending on LiFePO4 capacity. LiFePO4 usable kWh cost varies widely — get up‑to‑date quotes.
DIY vs professional install
DIY is feasible for experienced owners for panel mounting, wiring and small systems. For high‑current, multi‑source or permanently installed lithium banks, use a certified installer. Always follow manufacturer manuals and local code.
Resources & next steps
- Run your site address through NREL PVWatts (pvwatts.nrel.gov) for PSH and production estimates.
- Download a sizing worksheet (suggested: Google Sheets/Excel) to plug in your Wh/day and test battery/panel outcomes.
- Check manufacturer manuals (MPPT, battery) for wiring/fuse specs and temperature limits.
Liability & safety note
This guide is informational only. Verify local code and standards (NFPA, RVIA) and consult a qualified electrician or certified RV installer for mains‑tied or high‑current work. Battery and solar standards evolve; check manufacturer certifications and the latest regulations before purchase/installation.
Last checked: 2026. Always confirm component specs, pricing and local regulations before buying or installing.


