Introduction
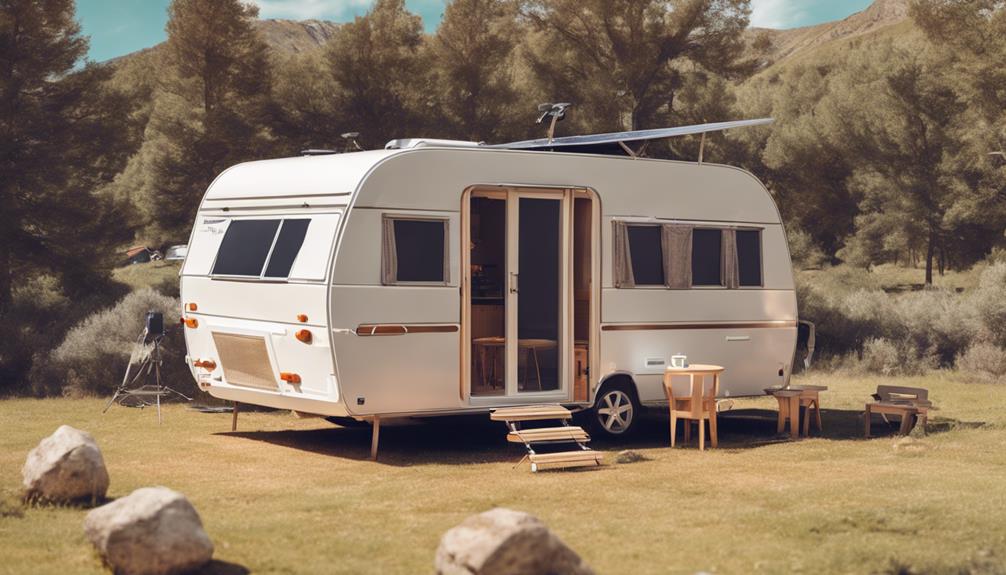
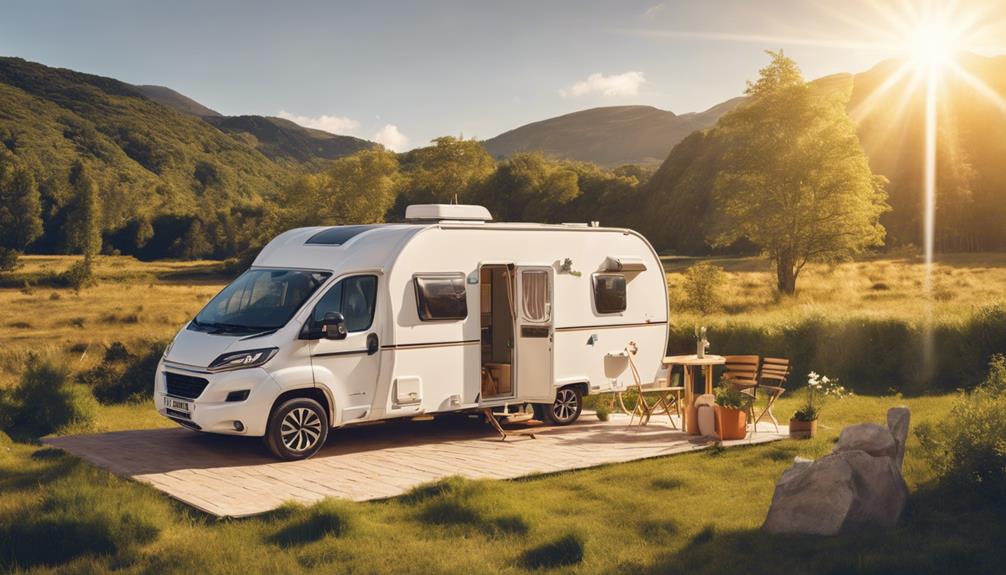
A caravan solar kit (also called an RV solar kit) supplies DC charging to a habitation or “house” battery so you can run lights, pumps, fridges and small electronics away from mains power. This guide explains what a kit contains, how to size panels and batteries from real energy needs, roof vs portable options, controller choices (MPPT vs PWM), battery compatibility, safe installation practices and what an off-grid system can realistically run.
Start with energy use, not panel wattage
Solar sizing begins with an appliance audit. Convert each appliance to daily energy:
Daily energy (Wh) = appliance power (W) × hours used per day
Wh is watt-hours. For example, a 50 W fridge controller running 24 hours at 50% duty might use about 600 Wh/day. Add lights, pumps, chargers and inverter standby. Separate that from peak power (watts) so you can size the inverter and cables.
Remember: panel nameplate watts are an instantaneous rating under test conditions, not guaranteed daily energy. Real harvest depends on location, season, shading, orientation, soiling and system losses.
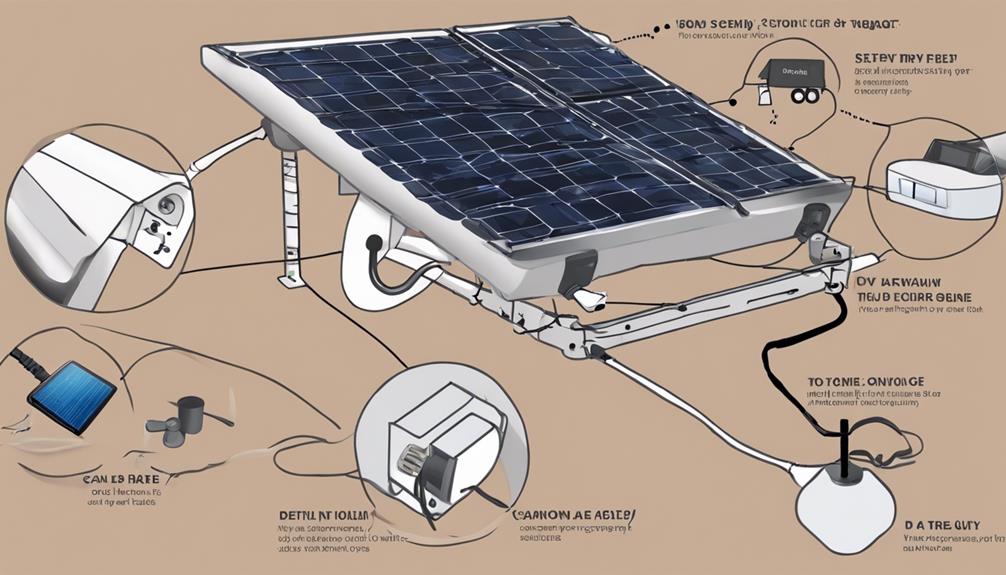
What a caravan solar kit may include
- PV module(s) (rigid, semi-flexible or portable)
- Charge controller (PWM or MPPT)
- Mounting hardware, roof seals or a portable stand
- Wiring, connectors and often basic fusing
- Sometimes a battery, inverter or monitor—but many kits exclude these
“Kit” is not standardized. Confirm exactly what is included before buying.
Roof-mounted vs portable panels
Choose by how you travel and park:
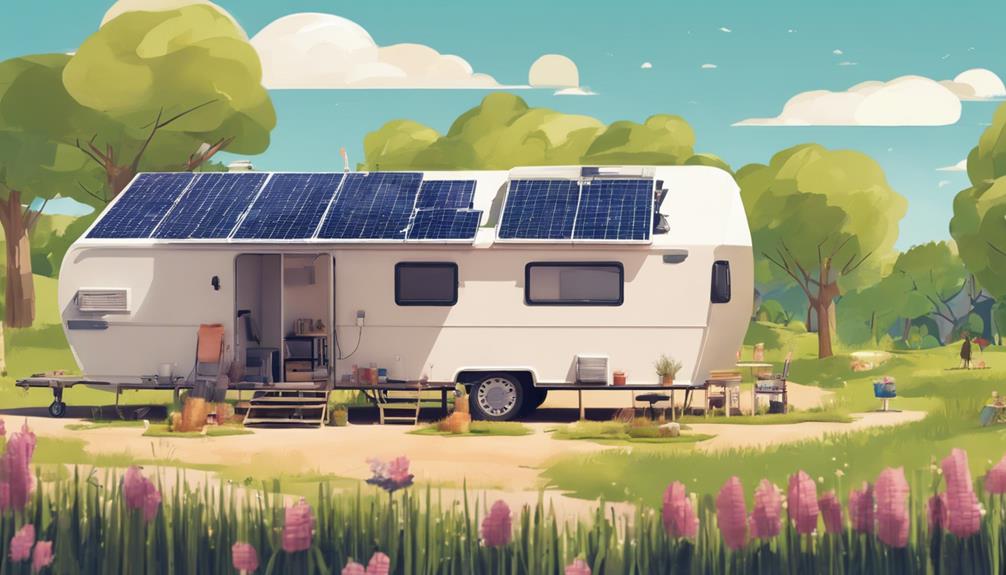
- Roof-mounted: Always ready to charge, no daily setup, good for frequent travel. Downsides: fixed angle, potential roof shading, penetrations and harder access for cleaning or replacement.
- Portable: Can be aimed at the sun and moved away from shade; no roof holes. Downsides: daily setup and storage, trip hazards, theft risk and weather vulnerability.
Charge controllers: MPPT vs PWM
PWM controllers are simple and lower cost. They work well when panel voltage closely matches battery voltage and cable runs are short. MPPT (Maximum Power Point Tracking) controllers harvest more energy in cooler or low-light conditions, support higher-voltage arrays and reduce array-side current and cable losses. MPPT is often the better choice for larger arrays, series-wired panels or longer runs; PWM remains a reasonable option for small, simple 12 V kits.
Battery compatibility and design constraints
The battery anchors the design. Match battery usable capacity to daily Wh needs (usable capacity varies by chemistry and depth-of-discharge rules). Consider maximum charge/discharge current, temperature limits and space/weight.
Lead-acid (flooded, AGM, gel) needs different charging profiles and typically lower usable depth-of-discharge than LiFePO4 (lithium iron phosphate). LiFePO4 offers higher usable capacity and faster charging but often includes a BMS that may restrict charging below certain temperatures—check the battery manual.
System safety and what you can DIY
Safety is critical with high-current DC circuits and roof work. Key points:
- Fit a fuse or DC overcurrent protection close to the battery positive.
- Select cable size for expected current and run length; protect cables from abrasion and heat.
- Use weatherproof roof entries and appropriate sealants for your roof material.
- Follow manufacturer connection order and torque specs; protect controller terminals.
- Do not locate charging equipment directly above a vented lead-acid battery.
If you are unfamiliar with DC wiring, roof penetrations, lithium batteries or local codes, get a qualified RV electrician to install or at least inspect the work. Local vehicle and electrical regulations may apply.
Realistic expectations: what solar can run
Solar is excellent for low- to moderate loads: LED lighting, water pumps, device charging, fans and efficient fridges. Running air conditioning, kettle-level loads or electric heaters requires large panels, significant battery capacity and alternative charging sources—often impractical for most caravans.
Use alternator/DC-DC charging, mains hookup or a generator to complement solar during winter, extended cloudy periods or when you need high daily energy.
Monitoring, maintenance and troubleshooting
A good monitor shows battery state of charge, charging current and daily harvest. If production drops, check for shade, dirty or damaged panels, loose connectors, cable issues, controller alarms or a full battery accepting little current.
Maintain panels by keeping them clean and checking mounts, cable entries and seals periodically.
Buyer checklist
- Total panel wattage and physical size
- Panel format: rigid, flexible or portable
- Controller type (MPPT or PWM) and current rating
- Maximum PV Voc and controller input limits
- Battery voltage and chemistry compatibility
- Included cables, connectors, fuses, isolators and mounting hardware
- Monitoring capability and manuals/warranty
- Whether installation needs a qualified electrician or local approvals
Short FAQs
How many watts do I need? There is no one-size-fits-all answer—size panels from your daily Wh needs, location and willingness to accept cloudy days or use alternate charging.
Is MPPT worth it? For larger arrays, series-wired panels, long cable runs or variable light, yes. For a single small panel closely matched to a 12 V battery, PWM can be fine.
Can a kit charge LiFePO4? Yes if the controller supports the battery’s charge profile and the battery’s BMS requirements (including temperature limits).
Can I install it myself? Basic portable setups are often DIY-friendly. Roof-mounted arrays, high-current DC wiring and lithium batteries have safety and regulatory risks—consider a professional.
Conclusion
A good caravan solar kit starts with an honest assessment of your energy needs and a careful match of panels, controller and battery. Treat solar as one element of a resilient charging strategy, prioritize safety and monitoring, and buy a kit whose contents and electrical limits match your planned use.