Quick lede
Solar can extend runtime or top up batteries between flights/drives for small RC toys — but success comes down to three high‑impact steps: plan the power, keep weight low, and wire/charge safely. This guide (current as of July 1, 2026) walks hobbyists through those steps with checklists, a short worked example, and practical tips.
What you’ll get
- Three prioritized steps to add PV to cars, boats, and gliders
- A simple power‑budget worked example
- Actionable mounting, wiring and charger recommendations
- Safety callouts for LiPo charging and wiring
Step 1 — Power & energy budget (most important)
Why it matters: small panels give limited power; size the PV and battery to real energy needs so the system helps instead of adding useless weight. Always total average/peak currents before picking parts (motors, ESC, servos, receiver).
How to convert current to Wh
- Measure or estimate current draw (A) at the pack voltage (V).
- Energy (Wh) = Current (A) × Voltage (V) × Time (h).
Worked example — small glider assist
Goal: add ~10 minutes extra cruise per sunny hour.
- Cruise draw: 1 A at 7.4 V → 7.4 W.
- Extra 10 minutes = 1/6 h → energy needed = 7.4 W × 1/6 ≈ 1.23 Wh.
- Small 10 W flexible panel, derated to ~60% for angle/temp/wiring → ≈6 W usable; in 1 hour produces ≈6 Wh, enough to supply the 1.23 Wh and top up the pack. (Illustrative; always use Vmp/Imp from the panel datasheet and local sun hours.)
Checklist — power budgeting:
- List motors, ESC, servos, receiver currents (cruise and peak).
- Convert session time to Wh and add a 20–30% margin.
- Pick a panel where Vmp is compatible with your charger and battery chemistry.
(See community project guidance on panel sizing and measurement for RC models — FliteTest project notes.)
Step 2 — Mass, materials & mechanical integration
Mass is the enemy of small PV: every extra gram increases propulsion current and may require a larger panel. Flexible panels often win because of lower weight‑per‑watt and conformability, though you should compare datasheets for efficiency and g/W numbers before buying (see Renogy flexible panels for an example).
Design tips
- Use lightweight foams (Depron, EPP/EPO) and selective balsa/carbon reinforcements.
- Mount panels where they sit flat and see sun (wing upper surface, roof, or boat deck).
- Reinforce attachment points and avoid mounting panels where they will flex repeatedly.
- Consider center‑of‑gravity shifts for aircraft — move battery or add ballast to compensate.
Checklist — mechanical:
- Target added PV mass vs total mass (estimate g/W from panel datasheet).
- Plan reinforcement (spars, tape, epoxy) for panel edges and connectors.
- Provide ventilation if panels sit over electronics to avoid heat stress.
Step 3 — Electrical installation, connectors, charging & safety
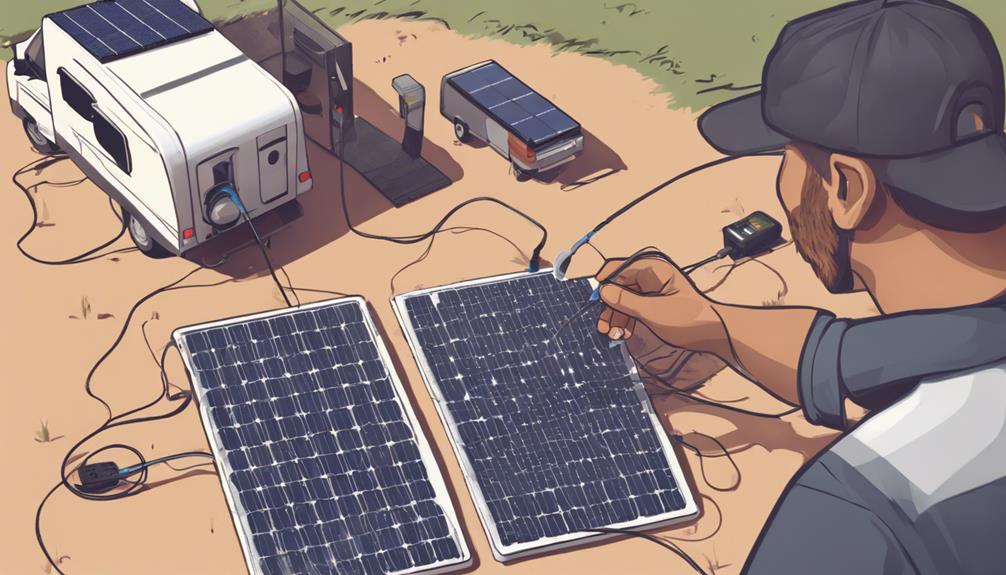
Never wire a panel directly to a LiPo. Use a solar‑aware LiPo charger or MPPT module and include reverse‑current protection (blocking diode or MOSFET) — direct connection risks over/under‑charging and night‑time battery discharge.
Component guidance
- Solar charger / MPPT: use a dedicated small LiPo solar charger or 1S MPPT module (examples: Adafruit BQ24074 style chargers or SparkFun/Sunny Buddy MPPT modules).
- Battery: LiPo with known capacity (mAh) and respect the manufacturer’s charge C‑rate; use a BMS if you need cell protection and balancing.
- Protection: fuse motor leads where peak currents are possible and include a blocking diode/MOSFET for the PV input.
Wiring best practices
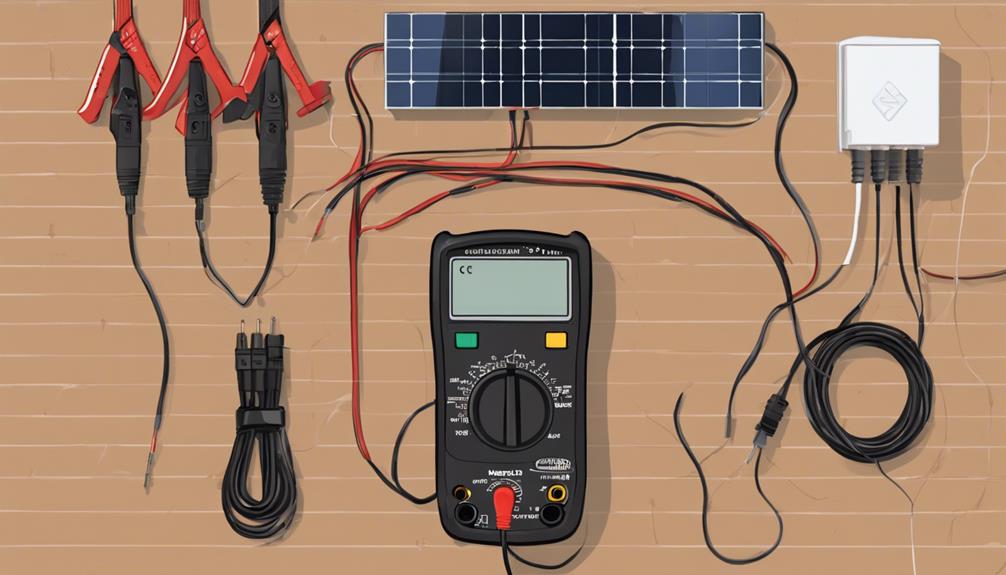
- Use silicone stranded wire sized by current (AWG) and high‑quality connectors (JST, XT60, Deans as appropriate).
- Avoid solder‑only strain points — use crimped ferrules or heat‑shrinked strain reliefs on high‑vibration joints.
- Protect panel junctions from repeated flexing and route cable with service loops/anchors.
(Good wiring and connector practice reduces failures — follow RC wiring guides for crimps and ferrules.)
Testing, tuning & troubleshooting
- Bench test the panel in sun: measure Voc and the operating Vmp/Imp with your charger or an MPPT load.
- Ground test powertrain and perform tethered flights/drives before full free operation.
- Log current draw and runtime to refine sizing; adjust panel area or battery capacity as needed.
Quick troubleshooting
- Panel shows no power: check Voc in sun, check wiring polarity and blocking diode orientation.
- Battery drains overnight: ensure reverse‑current protection or the charger’s MOSFET is working.
- Wires break at joints: add strain relief, switch to crimped ferrules and reinforce with epoxy or hot glue.
What to avoid (mini box)
- Directly connecting a PV panel to a LiPo cell — unsafe and inefficient.
- Buying a large panel without checking Vmp/Imp vs your charger/battery and expected sun hours.
- Ignoring mass and CG changes — too much weight ruins flight and handling.
Where to start (recommended parts)
- Small flexible PV example: Renogy flexible monocrystalline panels (check weight and Vmp/Imp on the datasheet).
- Small charger/MPPTs: Adafruit solar LiPo charger (BQ24074 family) and SparkFun/Sunny Buddy MPPT modules for 1S systems.
- Wiring/tools: silicone stranded wire, proper AWG for current, JST/XT60 connectors, crimp ferrules.
Safety note: LiPo charging and storage carry fire risk — use the correct solar charger, respect charge C‑rates, and charge in an approved fire‑safe container. Also follow local RC safety and flying rules. Guidance current as of July 1, 2026; check manufacturer datasheets and product pages for up‑to‑date specs.
Sources for tradeoffs, charger guidance and wiring practice: Renogy flexible panel specs; FliteTest solar RC project; Adafruit BQ24074 documentation; SparkFun Sunny Buddy MPPT notes; RC wiring/crimp guides (consult manufacturers’ datasheets and community build reports for details).