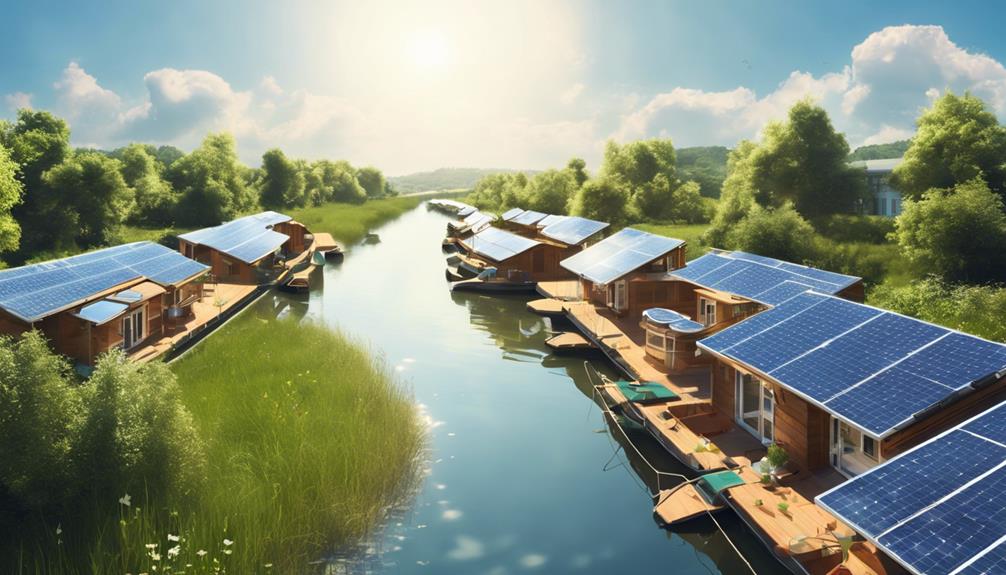
Is solar on a houseboat worth it?
Short answer: often yes—as a way to reduce generator runtime and keep batteries topped up—but it’s an electrical-system project, not just buying panels. A practical houseboat system typically combines a Solar PV (photovoltaic) array, battery bank (energy storage), a solar charge controller, and—if you need household AC—an inverter or inverter-charger. Whether solar can reliably cover your needs depends on your daily energy use, available roof area and sun, battery autonomy, and how willing you are to manage loads and backups.
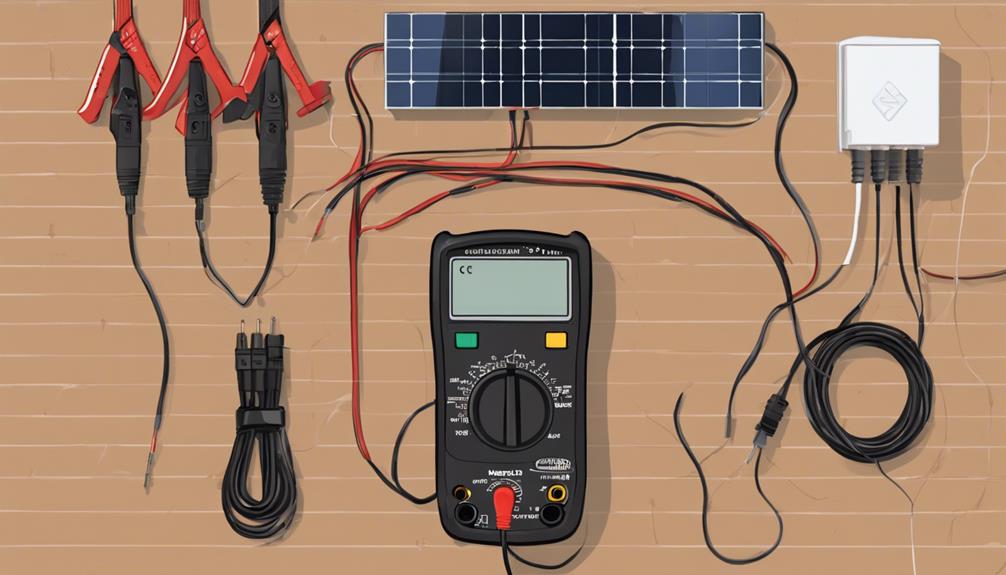
What a houseboat solar system includes
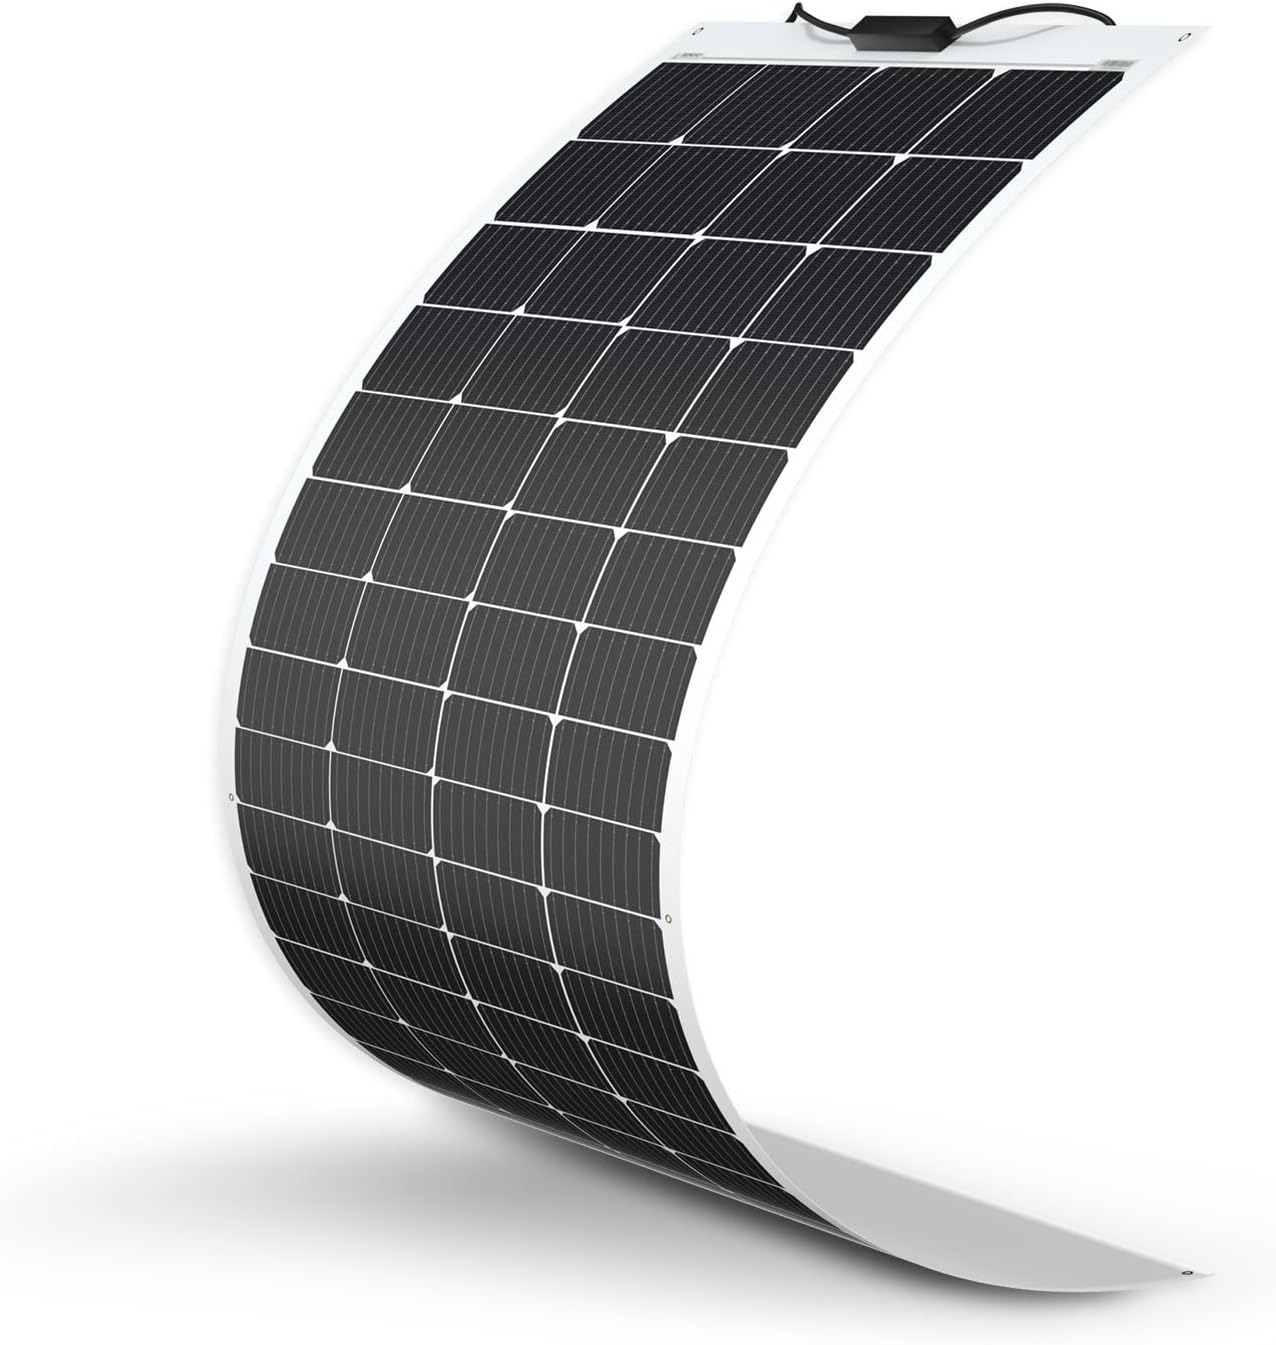
- Solar PV array: the connected panels that produce DC electricity; rated array capacity (Wdc) is a nameplate rating, not guaranteed onboard output.
- Solar charge controller (usually MPPT): regulates array charging to the battery bank and optimizes operating voltage.
- Battery bank / energy storage: stores solar energy for night, clouds, and high-demand periods.
- Inverter / inverter‑charger: converts DC to AC for appliances; inverter‑chargers can also charge batteries from shore power or a generator.
- DC distribution and AC distribution: protected circuits, fuses, breakers, and disconnects for loads.
- PV disconnect and overcurrent protection: DC-rated isolation, fuses, and breakers sized per selected equipment.
- Mounting hardware, wiring, monitoring, and marine‑grade components to resist moisture and corrosion.
Step 1: Measure your actual energy demand
Size the system around energy use (watt‑hours per day), not panel wattage. Start with a simple load audit: list appliances, their watts, expected hours per day, and compute watt‑hours. Separate continuous loads (e.g., refrigeration), intermittent loads (pumps, lights), and high‑draw items (air conditioning, electric cooktops, space heaters).
| Appliance | Watts | Hours/day | Watt‑hours/day | Essential / Optional / High‑demand |
|---|---|---|---|---|
| Example: Refrigerator | 120 | 24 | 2880 | Essential |
Flag air conditioning, electric water heating, resistance heating, and electric cooking for separate feasibility analysis—these often exceed what a roof‑mounted system can realistically supply or store.
Step 2: Assess available solar space and shade
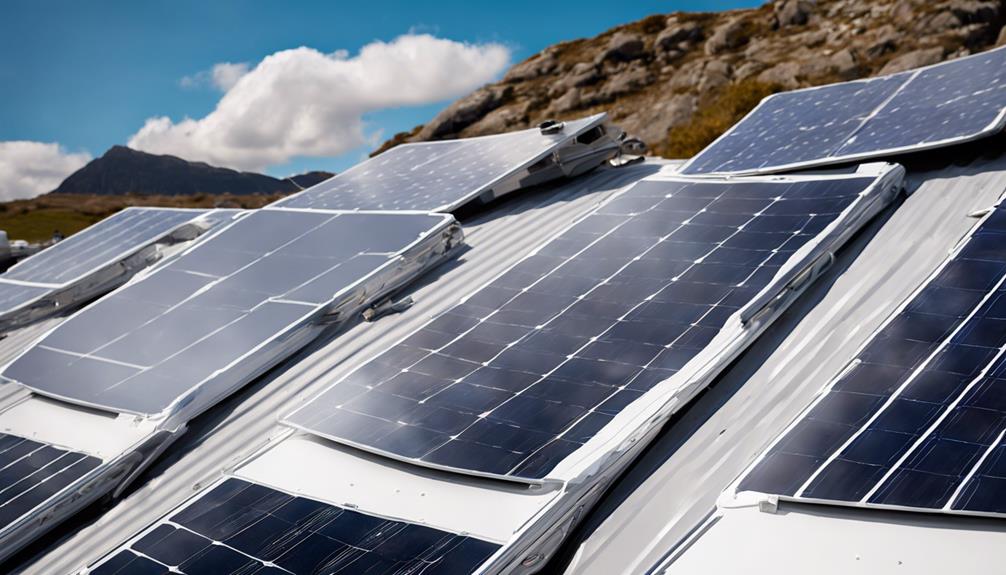
Measure roof/deck dimensions and map obstructions: rails, antennas, radar arches, vents, upper decks, and nearby trees or neighboring boats. Shade causes disproportionately large, nonlinear production losses; map shade across the day and season before fixing panel placement. Decide whether you prioritize maximum energy (tilted frames) or low windage, clearance, and walkability (flush flat mounts). This is a site‑specific tradeoff.
Step 3: Size the system as a package
- Start from your daily energy target (Wh/day) and estimate array production at your primary cruising/mooring location—use PVWatts or similar tools for a preliminary estimate, but expect seasonal and shading variability.
- Choose battery capacity to meet your desired autonomy (hours or days of no-sun operation) and to match your battery chemistry and charge/discharge limits.
- Pick a solar charge controller rated for the array voltage/current and compatible with the battery type; MPPT controllers are common because they recover more energy under variable conditions.
- Select an inverter with continuous and surge capacity to handle expected AC loads; remember large motors and compressors have significant start surges.
- Treat shore power and generator as intended backups, not automatic safety nets—plan their integration as part of the overall design.
Step 4: Installation priorities unique to houseboats
- Structural review: confirm the roof or deck can carry panel and frame loads; avoid penetrations without proven sealing methods and access for resealing.
- Marine‑grade components: choose corrosion‑resistant fasteners, stainless hardware, and UV‑resistant cables and glands.
- Protected wiring: use flexible, stranded marine copper conductors; anticipate vibration and movement; prevent chafe with grommets and conduit.
- Electrical protection: battery‑side fusing, DC‑rated disconnects, PV overcurrent protection, and attention to PV open‑circuit voltage (which can rise in cold conditions).
- Battery ventilation and enclosure rules depend on battery chemistry—lithium installations have different requirements from flooded lead‑acid and must be treated accordingly.
Safety, standards, and professional review
Follow equipment manuals and current marine standards as the safety benchmark. The American Boat & Yacht Council (ABYC) standards most relevant to solar and batteries include E‑11 (AC/DC systems), E‑13 (lithium batteries), A‑31 (battery chargers/inverters), and E‑2 (cathodic protection). Boat grounding, AC grounding, DC negative, and bonding are distinct systems—do not conflate them. For lithium batteries, inverter/charger integration, shore power/generator interfaces, and corrosion/bonding concerns, hire an ABYC‑certified marine electrician or similarly qualified professional rather than relying on DIY wiring guidance.
Maintenance and monitoring
- Install monitoring so you can track daily production and battery state of charge; investigate meaningful drops in output rather than assuming surface dirt is the cause.
- Inspect mounts, sealants, cable glands, connectors, and battery enclosures periodically for corrosion, loose hardware, chafe, or water intrusion.
- Clean modules only per the manufacturer’s recommendations; avoid abrasive methods and walking on panels.
Bottom line
Solar PV on a houseboat can meaningfully reduce generator runtime and shore‑power dependence when sized to real energy use, paired with suitable battery storage, and installed as a marine‑grade system. It is not an automatic route to full off‑grid independence—realistic expectations, load management, and qualified professional review are essential to a safe, reliable outcome.
If your design includes lithium batteries, shore power or generator integration, or major inverter capacity, engage a qualified marine electrical professional to review and sign off on the system.