Why caravan/RV solar matters — and what “best” really means
Solar lets you recharge batteries quietly at campsites, reduce generator use, and run lights, fridges, fans, CPAPs and devices off-grid. The “best” solar setup depends on your roof space, daily energy needs (watt‑hours per day), desired permanence (roof-mounted vs portable), and budget. This guide helps you pick between rigid roof-mounted panels, flexible panels, portable/folding panels, and complete kits — and sizes the system around real energy use, not just panel watts.
Quick recommendations by use case
- Best overall (most caravans): rigid monocrystalline roof-mounted panels or a multi-panel kit with an MPPT charge controller.
- Best for limited roof space: high‑efficiency N‑type or high-efficiency monocrystalline panels (higher conversion per square foot).
- Best portable: folding/suitcase-style rigid panels (good for shade management and charging power stations).
- Best for curved roofs/weight-sensitive builds: flexible panels (useful compromise but generally shorter warranties and lower efficiency).
- Best for long off-grid trips: larger array (400W+) + LiFePO4 battery bank + MPPT controller + DC‑DC charger.
- Best beginner route: a complete kit with panels, MPPT (or PWM for tiny systems), cables and mounts to avoid compatibility issues.
Size your system from watt‑hours per day
Start with an energy audit: list devices, multiply watts × hours per day, and add a safety margin for losses and cloudy days. Panel watt ratings (e.g., 200W) are peak output under ideal test conditions; real daily energy depends on sun angle, shading, season, heat and controller/battery losses.
Common sizing examples:
- 100–200W — battery top‑up, phone/tablet charging, LED lights; very light use.
- 200–400W — weekend camping, small fridge with good sun, fans, laptops occasionally.
- 400–800W — more comfortable off‑grid stays with refrigerator, laptops, water pump, and multiple devices.
- 800W+ — serious full‑time off‑grid rigs; still, running air conditioning reliably usually needs very large battery/inverter support or generator/shore power backup.
Panel types: pros and cons
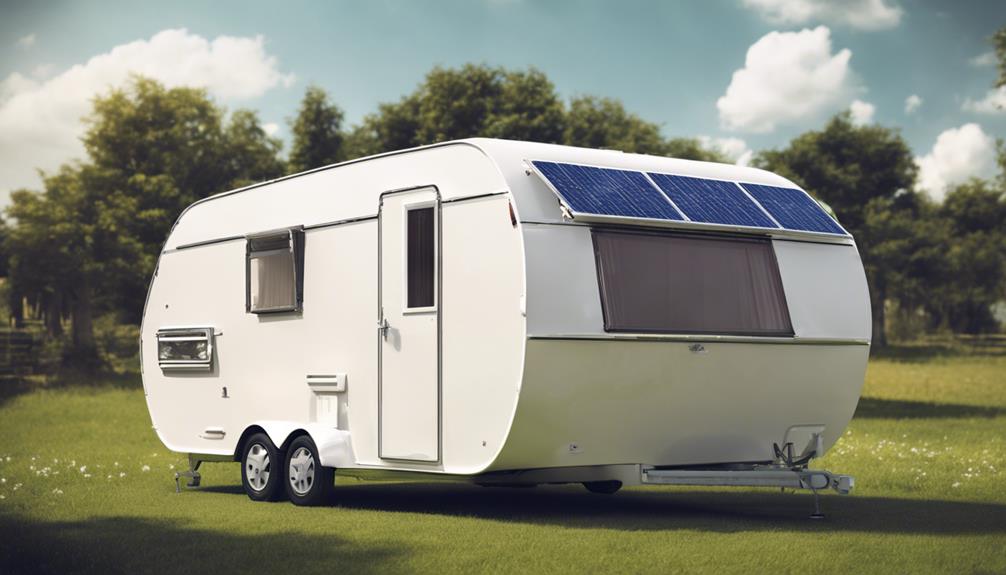
Rigid monocrystalline panels
Best choice for permanent roof installs when you have a flat area. Framed glass panels offer higher efficiency (often ~20–23% or more on modern modules), better durability, airflow under the panel, and longer warranties.
Flexible panels
Good for curved roofs, stealth installs or where drilling isn’t desired. Expect lower efficiency and shorter warranties than rigid framed panels; treat them as a compromise for specific use cases.
Portable / folding / briefcase panels
Ideal when your caravan is parked in shade but you can place the panels in sun. Great with power stations and for renters — not a permanent rooftop replacement.
Bifacial and advanced cell tech
Bifacial and N‑type panels (and cell tech like PERC/TOPCon/half‑cut/multi‑busbar) are increasingly common. Bifacial panels can add rear‑side energy if the mounting and ground reflectivity suit your setup. N‑type tends to give higher efficiency and better degradation profile but check specs and warranty.
What to check on the spec sheet
- Rated watts and panel dimensions (will it fit your roof?)
- Efficiency and cell type (monocrystalline vs flexible mono vs bifacial vs N‑type)
- Electrical specs: Voc, Vmp, Isc, Imp — needed to size MPPT and stringing
- Connectors (MC4), IP rating of junction box, and UL / IEC certifications
- Bypass diodes / anti‑shading design for improved partial‑shade performance
- Weight, mounting options and warranty (compare output warranty length)
Charge controllers, batteries and other components
Panels alone don’t make a system. Typical caravan systems need:
- MPPT charge controller (preferred for most systems — better harvest than PWM)
- Battery bank (LiFePO4 recommended for long life/weight; deep‑cycle lead acid still used for budget builds)
- Proper wiring, MC4 cables, fuses/breakers sized to the panel Isc and controller current
- Inverter only if you plan to run AC appliances; DC‑DC charger for alternator charging
Installation and safety highlights
- Use correct wire gauge and DC‑rated breakers/fuses; size fuses to Isc and controller ratings.
- Check polarity and follow the charge controller manual (many recommend connecting the battery before the PV).
- Seal cable entries with proper glands and use certified components (UL/IEC) where possible.
- For high‑current battery/inverter installs, consider a qualified installer rather than DIY.
Common mistakes to avoid
- Buying too little battery capacity — panels recharge batteries; batteries run your loads.
- Assuming a panel’s rated watts equals daily output.
- Mixing incompatible panel voltages or connectors without proper design.
- Using household AC breakers for DC circuits or skipping DC fusing.
Final buying advice
Pick the panel type that matches your roof, energy budget and whether you need portable flexibility. Size from watt‑hours per day, choose an MPPT controller for most systems, and match battery capacity to your real loads (LiFePO4 is a strong choice for extended off‑grid use). Verify Voc/Vmp/Isc specs, warranty length, IP rating and certifications before buying, and get professional help on wiring and high‑current battery work if you’re unsure.
Specs, prices and warranties change — check current product pages and installation manuals before you buy or install.


