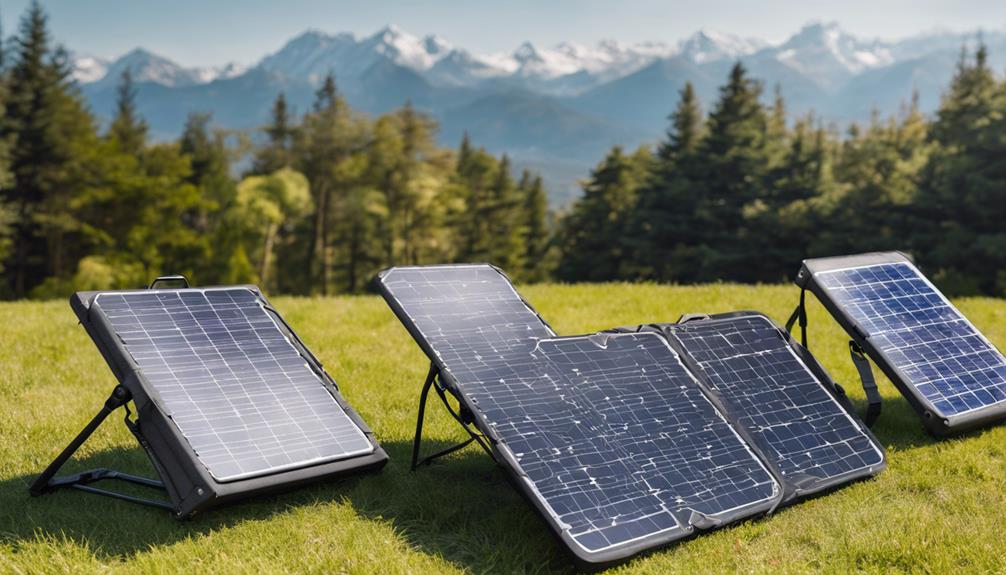
Home solar power kits package the core hardware you need to start generating electricity from sunlight. For homeowners weighing DIY or installer-supplied options, kits can lower cost and simplify procurement—but the benefits, limits, and regulatory details differ a lot by type. This guide explains the practical advantages, common kit types (grid‑tied, hybrid, off‑grid, portable), what to check in a kit, and steps to get a successful installation.
Why homeowners choose solar kits: top benefits
Home solar kits are popular because they deliver several concrete homeowner benefits:
- Lower electricity bills and lifetime savings. A properly sized rooftop system can reduce or eliminate much of a household’s grid energy use. Exact savings depend on location, utility rates, and interconnection rules—use a local calculator to estimate your ROI (EnergySage, DOE).
- Energy independence and outage protection. When paired with battery storage, solar provides backup power during outages and the ability to time‑shift solar generation.
- Environmental benefits. Solar reduces household greenhouse gas emissions compared with grid electricity that uses fossil fuels.
- Potential home value premium. Studies have found that PV systems can increase sale prices for homes (Berkeley Lab).
- Low maintenance and long lifetimes. Panels often carry 25‑year performance warranties and require little routine maintenance beyond periodic cleaning and inverter checks.
Note: Federal incentives matter. The federal residential tax credit (Residential Clean Energy Credit) for 30% of system costs applies only for systems installed and ready for use on or before December 31, 2025. Check current incentives and consult a tax advisor or the IRS for details.
Types of home solar kits and typical uses
Choose the kit type that matches how you use electricity:
- Grid‑tied (on‑grid) — PV plus an inverter, tied to the utility. Most common and usually the lowest cost per kW for standard homes.
- Hybrid (grid‑tied + storage) — PV plus batteries and a hybrid inverter for backup and time‑shifting. Offers resiliency but adds cost and permitting complexity.
- Off‑grid — Standalone PV + battery (often with a generator). Used for remote cabins or sites without reliable grid access; typically more expensive and requires careful sizing.
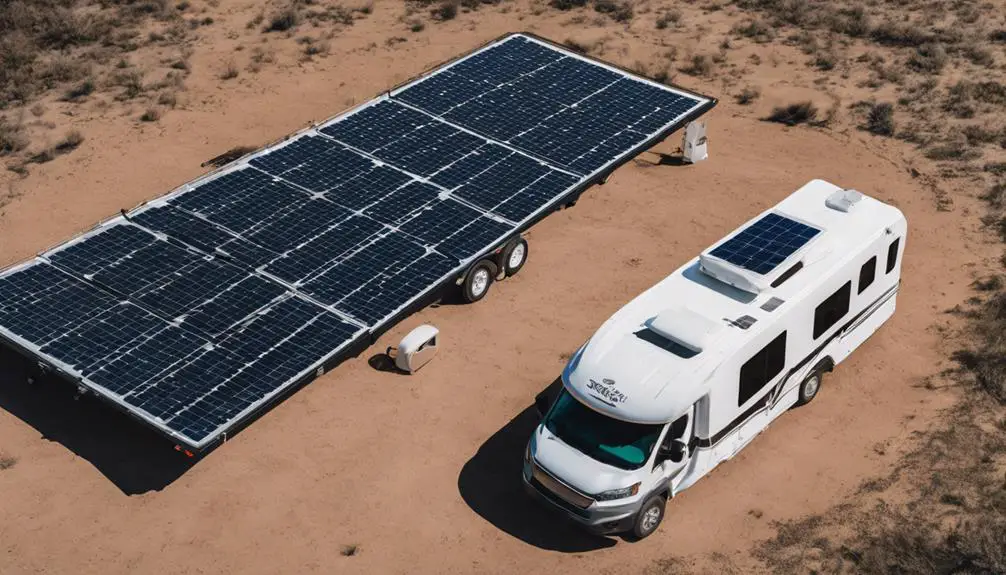
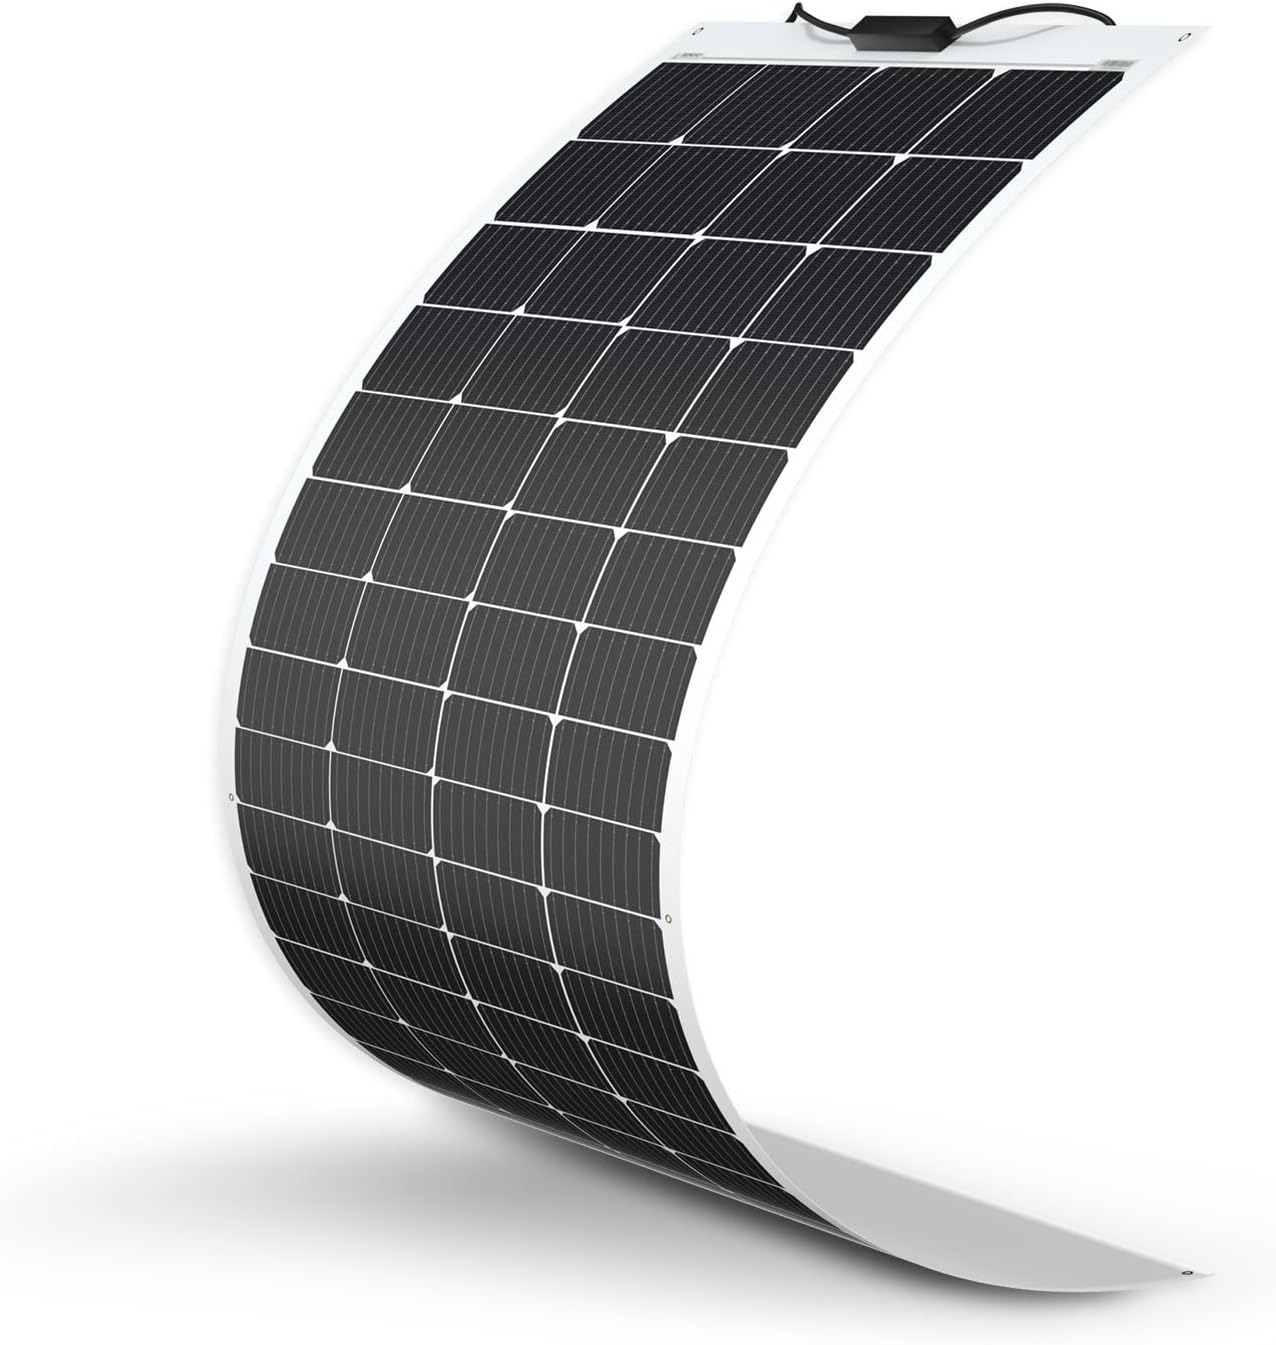
- Portable / plug‑and‑play — Small turnkey kits (100–1,500 W) for RVs, sheds, balcony systems, or temporary use. Easy to deploy but limited in scale.
Quick rule: “Grid‑tied is usually the lowest‑cost way to go solar; hybrid (battery + PV) increases resiliency and cost.”
What’s in a kit — and what to watch for
Most kits include PV modules, an inverter or charge controller, mounting hardware, and wiring. Battery kits add a battery, a hybrid inverter or charge controller, and additional safety equipment.
- Inverters & controllers: String inverters are common for roof systems; microinverters or power optimizers give panel‑level performance and easier expansion. MPPT charge controllers are more efficient than older PWM controllers for battery systems.
- Expandability: “If you plan to add panels later, consider microinverters or a hybrid inverter that supports expansion” — otherwise the inverter/controller in many low‑cost kits may cap future growth.
- Battery safety: Battery energy storage adds testing and code requirements (UL 9540A, NFPA 855, NEC). Use certified systems and professional installers for battery kits.
Costs, incentives, and a simple example
Costs vary by system size, equipment quality, and labor. Typical turnkey residential systems often fall in the range of roughly $15,000–$30,000 before incentives for a 5–10 kW system (site dependent). After incentives and state/local rebates the net cost and payback period vary widely.
Illustrative sensitivity: a 6 kW system that costs $18,000 before incentives would be eligible for a 30% federal credit only if installed and operational by December 31, 2025—reducing eligible cost by $5,400 and improving payback. Net metering and local export compensation materially affect savings—confirm utility rules early.
Permitting, interconnection, and timeline checklist
- Expect local building permits, electrical inspections, and utility interconnection paperwork. These steps commonly add weeks to months and sometimes additional fees.
- Some jurisdictions use streamlined platforms (SolarAPP+, local programs) to speed permitting, but timelines still vary by authority having jurisdiction (AHJ) and utility.
- For grid‑tied and battery systems, get the interconnection policy and net‑metering terms from your utility before final sizing.
Safety, warranties, and maintenance
- Check product certifications (UL/ETL listings) and manufacturer warranties for panels, inverters, and batteries.
- Battery systems require additional permitting and fire‑safety compliance—”Battery energy storage adds cost and significant permitting/safety requirements — use certified systems and installers.”
- Do simple annual inspections: check wiring, mounting hardware, roof penetrations, and review inverter monitoring for faults.
Buying tips and red flags
- Buy a kit when you want lower upfront equipment cost and are comfortable with limited or DIY installation; pick an installer when you need permitting support, roof work, or battery integration.
- Choose microinverters or a hybrid inverter if you plan future expansion.
- Red flags: vendor refuses to handle permits/interconnection, no UL/ETL listing on equipment, missing documentation on expandability, or unrealistic payback claims.
This article is informational only — check local building codes, utility rules, and a tax professional for personal financial or tax advice. For credible primary sources, consult the IRS (Residential Clean Energy Credit), Department of Energy guidance, NREL permitting studies, and UL battery‑safety documentation.
Next step: run a local savings estimate, confirm your utility’s interconnection and net‑metering policy, and get multiple quotes that document equipment specs, warranties, and permitting responsibilities.