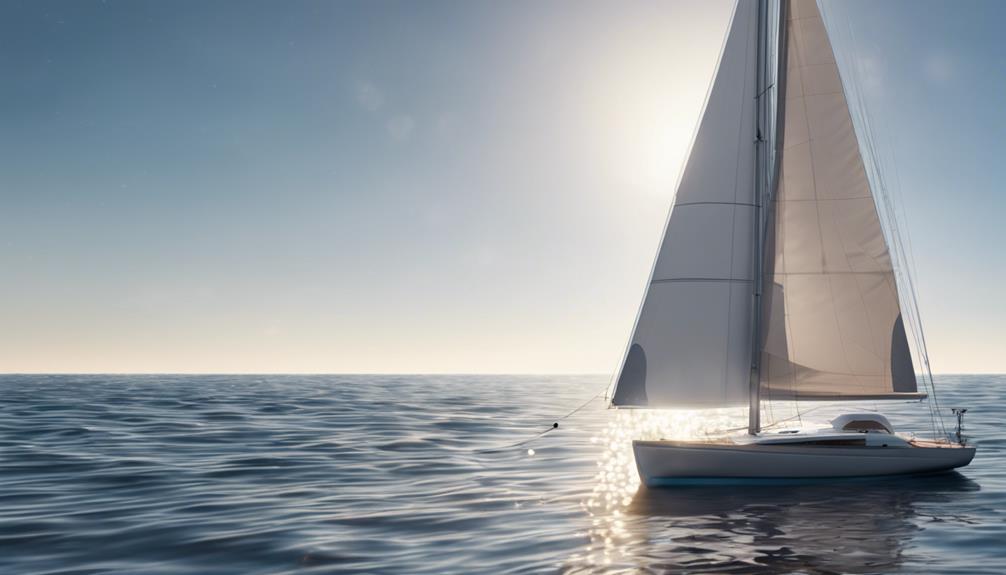
Why add solar to your boat?
Marine solar systems are primarily for battery charging and supporting house loads—keeping bilge pumps, navigation instruments, lights, refrigeration, and devices powered while at a slip, on a mooring, trailer, or at anchor. Well‑sized solar can cut engine or generator runtime and provide quiet, low‑maintenance charging, but it should be treated as a system designed to support batteries, not as an automatic replacement for shore power or propulsion.
How a boat solar charging system works
Basic flow: solar panel(s) → charge controller → fuse/breaker → house battery bank → DC loads or inverter/AC loads. A battery monitor or shunt is highly recommended to track state of charge and the system’s real-world performance.
Main components
- Solar panel(s) (rigid, semi‑flexible, or portable)
- Solar charge controller (MPPT or PWM)
- Marine‑grade, tinned multi‑stranded copper wiring and connectors
- Appropriate fuses or circuit breakers (close to the battery)
- House battery bank (AGM, flooded, or LiFePO4 with BMS)
- Optional: battery monitor/shunt, waterproof deck glands, mounting hardware
Panel types and when to use them
Choose by mounting location, expected output, and durability needs:
- Rigid framed monocrystalline panels — best for arches, hardtops, davits, and cabin roofs. Durable and cost‑effective per watt but heavier and need solid supports.
- Semi‑flexible panels — good for curved biminis or dodgers and low‑profile installs. Lighter and conforming, but need support, are sensitive to heat and repeated flexing, and often have shorter life than rigid panels.
- Portable/folding panels — useful for temporary charging or repositioning to avoid shade; convenient but not ideal as a sole high‑output source.
- Older polycrystalline or thin‑film panels exist, but modern monocrystalline technologies dominate consumer marine options.
Quick comparison
| Feature | Rigid (framed) | Semi‑flexible | Portable |
|---|---|---|---|
| Durability | High | Medium | Varies |
| Weight / Profile | Heavier | Light/low | Light |
| Best use | Hardtop, arch | Bimini, curved surfaces | Temporary, camping |
| Heat / airflow | Needs airflow underneath | Can overheat if bonded | Exposed, movable |
How to size a boat solar system
Follow a simple energy‑audit procedure:
- List each device, its watt draw, and hours used per day.
- Compute daily watt‑hours for each device: watts × hours.
- Sum to get total daily watt‑hours, then convert to 12V amp‑hours by dividing by 12.
- Estimate array size: daily watt‑hours ÷ peak sun hours ÷ system efficiency factor (use 0.65–0.8 to allow for heat, shading, wiring/controller losses).
Example: small cruising setup — LED lights 20 W × 4 h = 80 Wh; instruments 10 W × 8 h = 80 Wh; phone/laptop charging 40 W × 3 h = 120 Wh; fridge average 60 W × 6 h (duty cycle) = 360 Wh. Total ≈ 640 Wh/day. With 4 peak sun hours and 0.75 efficiency: array ≈ 640 ÷ 4 ÷ 0.75 ≈ 213 W. In practice you might choose ~250–300 W array to cover cloudy days and shading.
Important: shading and hot panel temperatures reduce real output significantly. Multiple smaller panels placed to avoid moving shadows often outperform a single large panel in real boating conditions.
Charge controllers: MPPT vs PWM
MPPT controllers are preferred for larger arrays, higher panel voltages, partial shading, and lithium battery charging because they extract more power and can adapt voltages for maximum output. PWM controllers are simpler and cheaper and can work for small, closely matched panel/battery setups. Always pick a controller that supports your battery chemistry—LiFePO4 batteries must be charged with a compatible profile and have a BMS; ABYC E‑13 addresses lithium battery installation considerations.
Mounting & installation safety basics
- Mount panels where they get the most sunlight without obstructing safe operation or access to safety gear.
- Avoid locations with moving shadows from masts, rigging, antennas, and booms.
- Use tinned, multi‑stranded marine‑grade copper conductors, waterproof deck glands, and quality connectors.
- Place an overcurrent protection device (fuse or breaker) close to the battery on the controller/bus feed.
- Keep wire runs short and sized for voltage drop; use strain relief at cable entries.
- Follow ABYC‑informed practices for permanent installs; hire a qualified marine electrician for lithium systems, high‑output arrays, or any integration with shore power/inverters.
Maintenance and troubleshooting
- Rinse salt and dirt with fresh water; use mild soap and a soft cloth. Avoid abrasive cleaners.
- Inspect mounts, fasteners, sealant, wiring chafe, connectors, and signs of delamination or cracking.
- Monitor output via the charge controller or battery monitor—drops can indicate shade, soiling, corrosion, or panel damage.
- For semi‑flexible panels, avoid over‑bending, standing, or heavy traffic unless manufacturer rated.
Quick FAQ
Can solar run a boat motor? Not realistically for propulsion on most recreational boats—solar is for battery charging and reducing engine/generator runtime.
Do I need a charge controller? Yes—never connect panels directly to house batteries except for very small manufacturer‑approved maintainers.
Can solar charge LiFePO4? Yes if the controller supports a LiFePO4 profile and the batteries have a suitable BMS; follow ABYC guidance for lithium installations.
Simple installation checklist
- Complete energy audit and choose array size with margin.
- Select panel type(s) suited to mounting surface and expected lifespan.
- Choose MPPT controller sized to array voltage and current, and battery chemistry.
- Use marine‑grade wire, waterproof glands, and fusing at the battery.
- Install a battery monitor/shunt and confirm system performance.
- Hire a marine electrician for lithium systems, ABYC compliance, or any complex wiring.
Solar on boats delivers quiet, low‑maintenance charging when sized and installed realistically. Focus first on a clear energy audit, use marine‑grade materials and correct charge control, and maintain panels and connections to get reliable performance at anchor or on the dock.


