Short deck: Solar power kits are packaged sets of panels and electronics sized for a purpose — from portable battery stations for camping to 3–10 kW home backup or grid‑tied systems. This guide explains kit types, key components, sizing basics, incentives, and safety considerations.
Intro — who a solar power kit is for
Solar power kits simplify buying and installing photovoltaic (PV) systems by grouping panels, mounting, wiring and the essential electronics into a single package. They appeal to DIY homeowners, renters exploring small systems, RV and van owners, and buyers looking for an entry‑level home backup. Kits range from small portable setups (100–2,000 Wh power stations with a folding panel) to whole‑home or hybrid packages (several kW of panels plus batteries). Read on to learn what matters when choosing, sizing and installing a kit.
At-a-glance comparison
| Kit type | Power range | Typical components | Use case | Typical cost band |
|---|---|---|---|---|
| Portable | 100–2,000 Wh power station + 100–400 W panels | Battery power station, folding panel, cables | Camping, short outages, emergency phone/laptop charging | $200–$2,000 |
| RV/van | 200 W–1.5 kW | Panels, MPPT charge controller, 12 V inverter, wiring, mounts | Vehicle electrification, campsite power | $500–$5,000 |
| Small off‑grid | 1–3 kW | Panels, MPPT controller, inverter/charger, battery bank | Cabin, remote shed, tiny home | $5,000–$20,000 |
| Grid‑tied / backup | 3–10+ kW PV + batteries | Panels, inverter (hybrid or string+micro), battery storage, safety gear | Home energy offset, backup for outages | $10,000–$40,000+ |
What’s in a kit — components explained
- PV module (solar panel) — converts sunlight to DC. Panel tech affects efficiency and space use (modern monocrystalline PERC/TOPCon and bifacial panels are common).
- Inverter — converts DC to AC. Types: string inverter, microinverters, optimizer + string inverter, and hybrid/battery inverters for storage.
- Charge controller — required when batteries are present; MPPT (maximum power point tracking) is the preferred modern choice for better energy harvest.
- Battery bank — optional. Chemistry matters: LiFePO4 (lithium iron phosphate) now leads for residential storage because of long cycle life, deeper usable depth of discharge (DoD) and improved safety over lead‑acid.
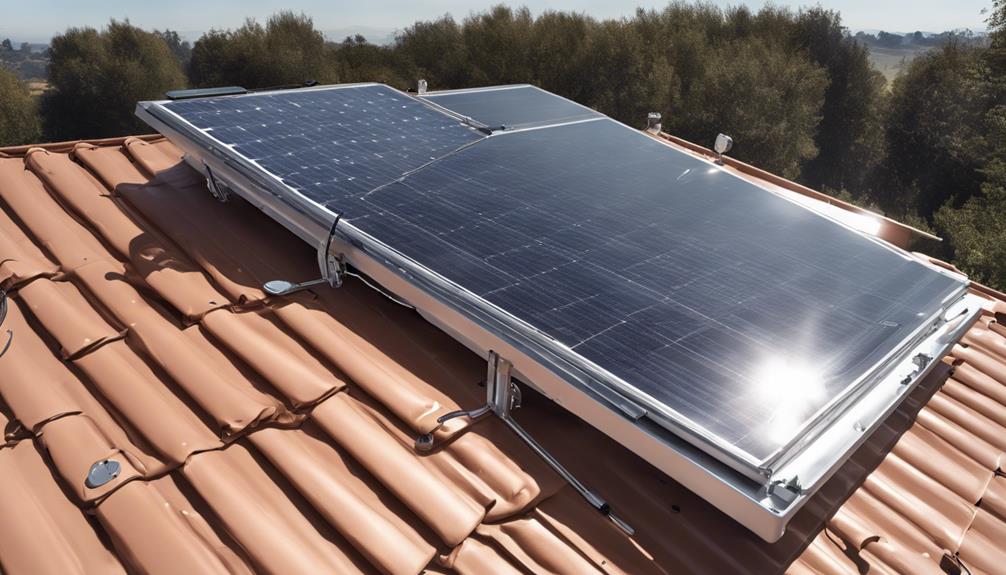
- Mounting & wiring — roof or ground mounts, MC4 connectors, conduit and breakers.
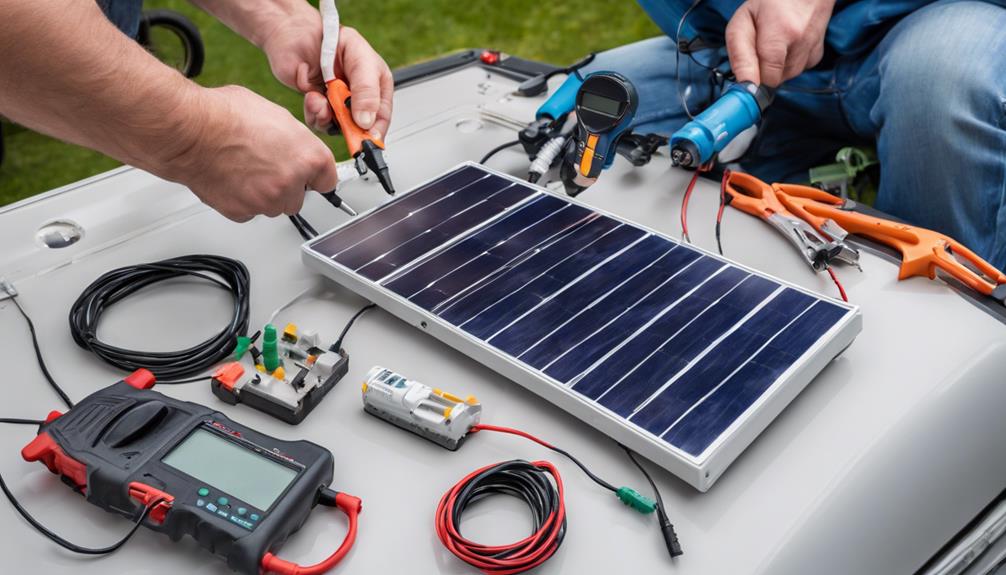
- Safety equipment — rapid‑shutdown, disconnects, fuses/ breakers and monitoring hardware.
Must‑have vs nice‑to‑have: must‑have items include a correctly sized inverter, proper safety disconnects and UL/ETL‑listed components. Monitoring, energy meters and optimizers are valuable but optional for some users.
Kit categories and practical tips
Portable / power‑station kits
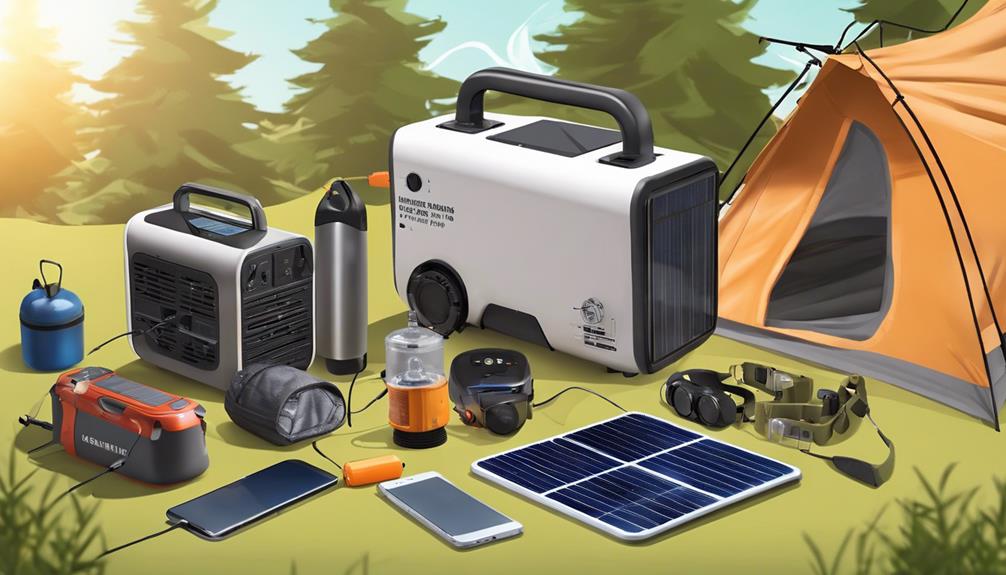
These pair a battery power station (inverter + battery in one case) with foldable panels. They’re ideal for day trips and short outages. Look for rated watt‑hours (Wh) of the station, continuous inverter output, and solar input limits. Example tip: a 1,000 Wh station with a 200 W panel will recharge in roughly 5–7 sun hours (minus conversion losses).
RV/van systems
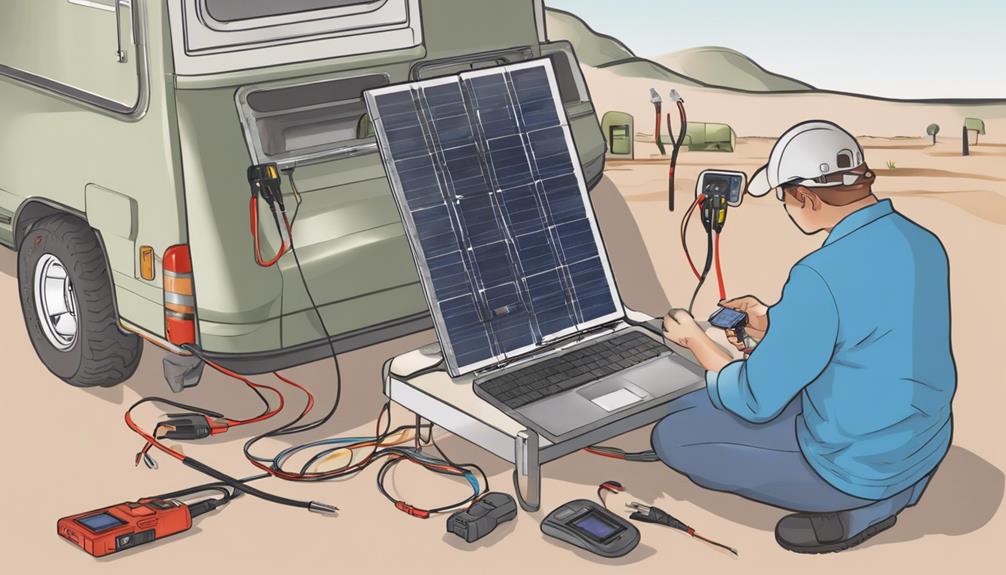
Most small vehicle systems run at 12/24 V and use MPPT controllers for charging house batteries. Plan panel placement for shading, and size the inverter to handle peak loads (microwave, AC) if you intend to run them.
Small off‑grid kits
These include panels, an inverter/charger and a battery bank sized for days of autonomy. Prioritize MPPT controllers and LiFePO4 batteries for daily cycling. Separate critical loads and plan realistic expectations for winter or low‑sun months.
Grid‑tied and hybrid home kits
For grid‑tied systems with backup, hybrid inverters or AC‑coupled battery inverters are common. Decide between whole‑house backup (larger, more expensive) and critical‑loads backup (smaller battery, backed circuits). Automatic transfer and code‑compliant rapid‑shutdown are required for most interconnections.
How to size a kit (basic method)
1) Calculate average daily energy use in kWh (look at utility bills for a monthly kWh and divide by 30).
2) Choose how many days of battery autonomy you want (0–3 days common for backup). Battery kWh = daily kWh × days ÷ usable DoD (e.g., 0.8 for LiFePO4).
3) Estimate required PV kW: PV kW = daily kWh ÷ average peak sun hours (local value). Add system losses (~15–25%).
4) Size the inverter by peak household loads or the subset of loads you want to run concurrently.
Common pitfalls: undersized inverters, not separating critical loads, and ignoring winter/low‑sun months.
Costs, incentives & financing
Costs vary widely by kit type and whether installation is included. Portable kits can cost hundreds to a few thousand dollars; installed residential hybrid systems often run tens of thousands. Lifetime costs depend on battery replacement, inverter warranties and system degradation.
Incentives: As of July 6, 2026, the IRS Residential Clean Energy Credit page provides guidance on federal tax credits for qualifying solar and storage systems; state and local incentives and net‑metering rules vary by jurisdiction (check DSIRE and your utility). Always verify current rates and eligibility on IRS and DSIRE before budgeting.
Installation, permits & safety
Most permanent, grid‑connected systems require permits, inspections and interconnection agreements. Installations must meet the National Electrical Code (NEC) and local authority requirements; battery storage has additional code provisions. Many areas require a licensed electrician for grid ties. For safety, use UL/ETL‑listed batteries and inverters, provide proper ventilation for some battery chemistries, and follow manufacturer installation guides.
Legal/safety disclaimer: verify local code and permitting rules before beginning work. Consult a licensed electrician or certified installer for grid‑tied or code‑triggering work.
Buying checklist & red flags
- Check component listings: UL/ETL and IEC certifications.
- Inverter warranty length and coverage (10+ years typical for string inverters; microinverters sometimes 20–25 years).
- Battery cycle warranty and usable DoD (LiFePO4 commonly rated for thousands of cycles).
- Clear installation instructions, monitoring options, and local installer support.
- Red flags: no warranty documentation, unverifiable technical specs, or claims that no permits are required for permanent grid‑tied installs.
Maintenance & monitoring
Routine maintenance is light: keep panels clean and shaded‑free, check mounts and wiring yearly, and monitor system production via the vendor app or gateway. For batteries, follow temperature and charge recommendations to maximize life; call a professional if alarms appear.
Quick FAQ
Q: Can a solar kit power my whole house?
A: Possibly, but you must size the PV and battery correctly; whole‑house setups are larger and require professional design and permits.
Q: Do kits include batteries?
A: Some do (especially off‑grid and hybrid kits); portable kits often include an integrated power station. Read product specs.
Q: How long do batteries last?
A: LiFePO4 commonly lasts thousands of cycles under appropriate use; lead‑acid typically lasts hundreds of cycles.
Q: Are permits required?
A: For most permanent, grid‑connected systems yes—check local jurisdiction.
Next steps / CTA: If you want a tailored recommendation, download a sizing worksheet (daily kWh, desired autonomy, local sun hours) or contact a certified installer for a site assessment.
Sources and further reading: U.S. Department of Energy (solar basics), DSIRE (state incentives), IRS Residential Clean Energy Credit (verify current rules as of July 6, 2026), and PNNL summaries on battery tech.