Quick recommendation summary: (A) Weekend/short‑visit users: portable solar panels for cabins paired with a portable power station are fast, low‑maintenance and ideal for lighting, small appliances, and charging devices. (B) Seasonal cabin owners: a medium foldable array + MPPT charge controller + LiFePO4 battery offers better autonomy and faster recharging between visits. (C) Full‑time off‑grid cabins: treat portability as supplemental — plan a fixed array with MPPT, a 5–15 kWh LiFePO4 bank, and a proper inverter and protections.
Introduction
This guide explains how portable solar panels for cabins work, how to size a system using peak sun hours, how to pick components (panels, MPPT charge controller for cabin use, batteries, inverter), and best practices for siting, installation, and maintenance. It’s written for a DIY‑capable audience with basic electrical literacy; hire a licensed electrician for any AC, grid‑tie, or permanent wiring work.
How a portable cabin solar system works
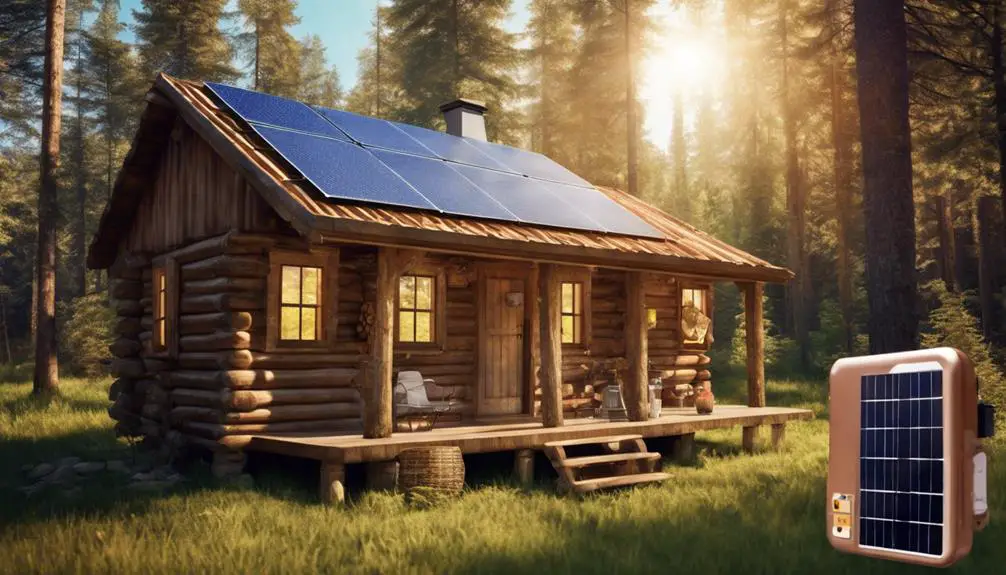
Atypical portable system includes: the PV panel(s), a charge controller, a battery (or a portable power station that combines battery + inverter + BMS), and an inverter if you need 120/240 V AC. Many users choose an all‑in‑one portable power station for simplicity; DIY systems pair folding panels to a separate MPPT charge controller and a LiFePO4 or lead‑acid bank.
Key terms:
- Peak sun hours (PSH) — the equivalent full‑sun hours used to convert solar resource to energy; site data or PVWatts gives local PSH estimates (NREL).
- MPPT vs PWM — choose an MPPT charge controller for most cabin systems: MPPT recovers more energy under voltage mismatch, cold weather, or partial shade than PWM (Victron).
Sizing: step‑by‑step
Start with your daily energy budget and work backward to array and battery sizes. Use the EnergySage method: list each load (W) × hours used to get Wh/day (EnergySage).
- Calculate loads: total Wh/day = sum of (W × hours).
- Get PSH: lookup your location on PVWatts or NREL resources.
- Size the PV array: Array (W) ≈ daily Wh ÷ PSH ÷ system efficiency. Use 0.65–0.8 for portable, non‑ideal setups (NREL guidance).
- Size the battery: usable battery kWh = (daily Wh × days of autonomy) ÷ usable DoD. Example DoD: lead‑acid ≈50% usable; LiFePO4 ≈80–90% usable (EnergySage).
- Choose the inverter: pick continuous rating ≥ steady AC load and allow surge capacity for motors/starting loads.
Worked example (1,500 Wh/day)
Assumptions: PSH = 4, system efficiency = 0.75 (losses, angle), 2 days autonomy, LiFePO4 usable DoD = 80%.
- Array: 1,500 ÷ 4 ÷ 0.75 ≈ 500 W of panels (e.g., two 250 W folding panels or a single 400–500 W briefcase array).
- Battery usable capacity: (1,500 × 2) ÷ 0.8 = 3,750 Wh usable → select ~4.0 kWh LiFePO4 bank (nominal ≈3.75 kWh usable depending on vendor specs).
- Inverter: size for continuous loads (e.g., 1,500 W) and allow a 2× surge for motor loads if needed; a pure‑sine inverter is recommended for electronics.
- MPPT controller: for a 500 W array on a 24 V system: 500 W ÷ 24 V ≈ 21 A; choose a 30 A MPPT to allow margin.
Arrays and battery capacities should be adjusted for local PSH and expected seasonal use.
Component selection & tradeoffs
Panel types: folding/briefcase panels (50–400 W each) are convenient and store easily; rigid panels are marginally cheaper per watt and better when you can mount them permanently. Portable panels can match cell efficiencies of rooftop modules; the tradeoff is mounting and orientation flexibility (Goal Zero).
Batteries: LiFePO4 is now recommended for many cabin systems due to higher usable DoD, longer cycle life, and better calendar life despite higher upfront cost (as of June 2026) (TheGreenWatt).
Controllers & power stations: a dedicated MPPT charge controller is best for separate battery banks. A portable power station (integrated battery + inverter + BMS) is plug‑and‑play for weekend cabins; ensure the solar input rating and MPPT efficiency match panel output.
Installation, siting, and tilt tips
Orientation: point panels toward true south (in the Northern Hemisphere). Annual‑optimum tilt ≈ latitude; seasonal tweaks of ±15° are rule‑of‑thumb—use PVWatts for site‑specific simulation (NREL). Avoid shading from trees and chimneys; even small shade patches cut output significantly.
Security & storms: anchor portable arrays or bring them indoors in high winds; theft can be a concern for unattended panels. Clear snow regularly to restore generation.
Maintenance & safety
- Keep panels clean and free of debris; inspect connectors for corrosion.
- Use correct fuses/breakers, grounding, and a BMS for LiFePO4 banks. Follow manufacturer wiring and torque specs.
- LiFePO4 charging: some cells have minimum charge temperatures—check specs and consider insulated enclosures for batteries in cold climates.
- Hire a licensed electrician for AC wiring, grid‑tie work, or to verify system grounding and code compliance.
Typical cabin builds (ballpark, June 2026)
- Weekend cabin (supplemental): 200–400 W folding panels + 500–2000 Wh portable power station. Cost (approx.): $500–$2,000.
- Seasonal stay: 600–1,200 W foldable array + MPPT + 2–5 kWh LiFePO4 battery + 1,500–3,000 W inverter. Cost (approx.): $4,000–$12,000.
- Full off‑grid small cabin: fixed array sized to loads (often 1–3 kW), MPPT controller(s), 5–15 kWh LiFePO4 bank, whole‑house inverter/charger. Cost varies widely by site and loads; design with professional help.
Next steps & tools
Checklist: 1) list loads (Wh/day), 2) get PSH from PVWatts, 3) compute array and battery sizes using formulas above, 4) pick MPPT-rated components and proper fusing, 5) schedule electrician review for AC wiring.
Useful resources: NREL docs/PVWatts (pvwatts.nrel.gov), EnergySage sizing guides (EnergySage), Victron MPPT white paper (Victron), and portable panel categories at Goal Zero for market context (Goal Zero).
If you’d like, I can now draft a longer, detailed 1,500–1,800 word how‑to with a printable sizing checklist and an Excel/CSV sizing template you can embed on your site—would you prefer the full article or the checklist/template next?


