Introduction
An RV solar kit packages photovoltaic (PV) modules with some of the balance-of-system components needed to charge a coach battery and run onboard loads. Kits vary: some include only modules and mounts, others add a charge controller, and a few bundle batteries and inverters. The right kit depends on your actual energy needs, roof space, shading, travel style (boondocking vs. hook-ups), and battery chemistry. Solar supplements other charging sources—it is not an automatic guarantee of unlimited power.
What an RV Solar Kit Typically Includes
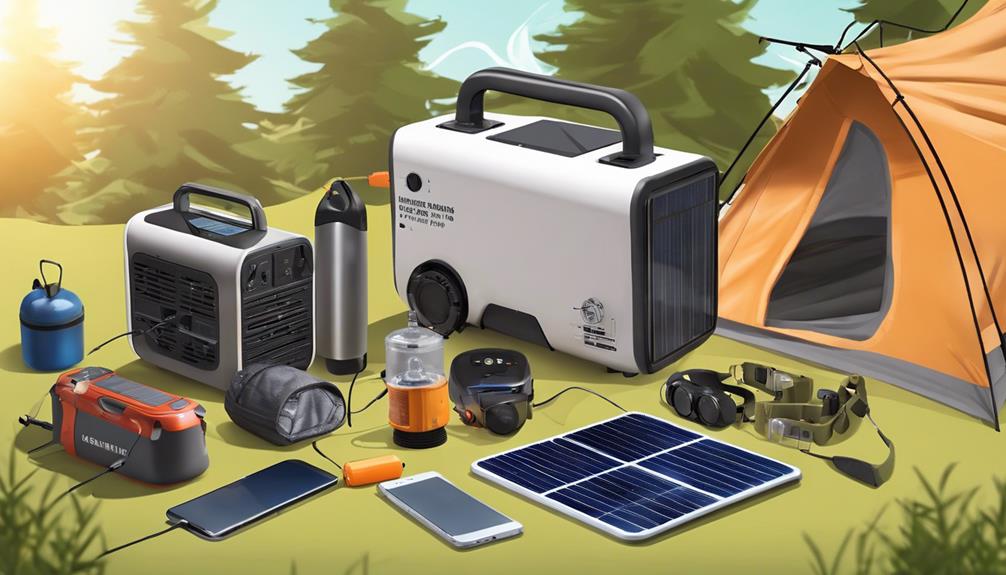
- PV modules (solar panels) and mounting hardware
- A solar charge controller (PWM or MPPT)
- Cables, connectors, and sometimes cable glands
- Overcurrent protection (fuses or breakers) and disconnects—sometimes included, sometimes not
- Optional items: house battery(s), inverter, battery-monitor or system-management device
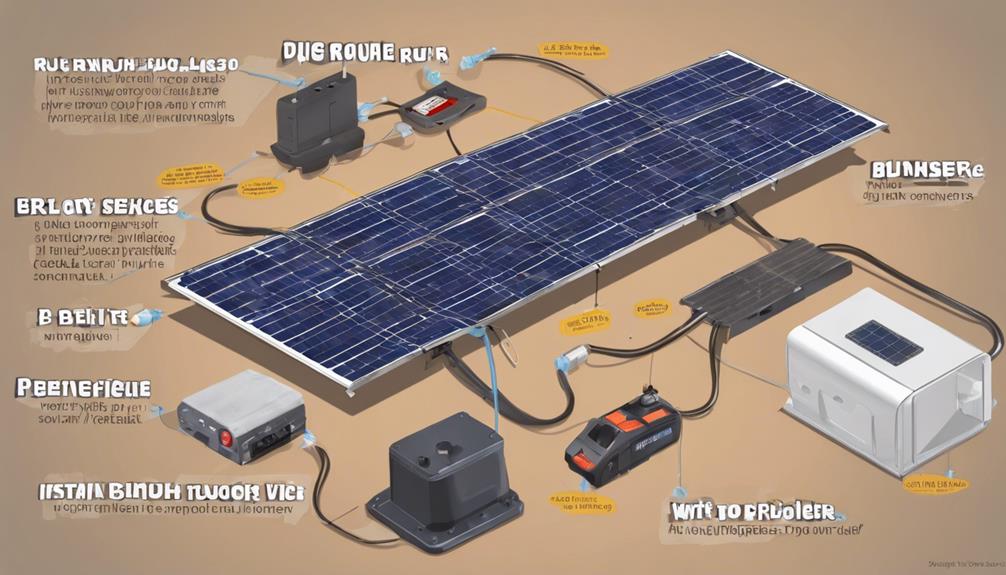
Remember: a panel-only package is not a complete off-grid power system. A functional system combines modules, a controller, a house battery bank, correct wiring and protection, and an inverter when AC loads are required (U.S. Department of Energy: Solar PV basics).
Portable (Deployable) vs. Roof-Mounted Panels
Both approaches are common for RVs; pick based on space, security, and how you camp.
Portable / Deployable
- Pros: Can be positioned for full sun, angled for better yield, avoids rooftop obstructions, easier to expand.
- Cons: Setup and storage required; higher theft and wind risk; cables must reach the coach battery or controller.
Roof-Mounted
- Pros: Generates power while traveling or unattended; no campsite floor space required; convenient for regular use.
- Cons: Fixed orientation vulnerable to shading by vents/AC; roof penetrations and sealing demand care; limited roof area.
How Much Solar Power Does an RV Need?
Start with your loads, not with panel wattage. A simple worksheet:
- List each appliance or device, its power draw (watts), and hours of daily use.
- Calculate watt-hours per item: watts × hours = watt-hours.
- Sum daily watt-hours, then add allowances for inverter losses (if using AC), wiring losses, and reserve for cloudy days.
- Compare the daily energy requirement to estimated solar production and the usable capacity of your house battery.
Panel nameplate watts are peak ratings under standard test conditions; actual production varies with sun angle, temperature, shading, dirt, and season. Use a location-aware tool such as NREL’s PVWatts for production estimates, keeping in mind those outputs are approximations.
Distinguish energy capacity (how many watt-hours your battery stores) from power capacity (how many watts the battery or inverter can deliver at once). Large AC appliances—air conditioners, microwaves, electric heaters—require both adequate battery capacity and an inverter rated for the surge and continuous loads; many RV kits are sized only for lights, pumps, fans, and device charging.
Choosing a Solar Charge Controller
The controller must match the PV array’s voltages and currents and the battery bank’s voltage and chemistry. Two common types:
- PWM (pulse-width modulation): Simple and lower cost; effectively pulls panel voltage toward battery voltage. Works well for small, low-voltage arrays.
- MPPT (maximum power point tracking): More sophisticated; allows the array to operate near its maximum-power point and converts input to the battery’s required voltage. Typically more useful for higher-voltage arrays, longer cable runs, colder conditions, and larger systems—but performance gains depend on system specifics (see Victron technical notes).
Check controller ratings for maximum PV open-circuit voltage (Voc), maximum input current, supported battery voltages, and correct charging profiles for your battery chemistry.
Choosing the Coach Battery
Common house-battery choices include flooded lead-acid, sealed AGM, and LiFePO4 (lithium iron phosphate). Key differences:
- Charging profile and usable capacity vary by chemistry—manufacturers specify usable depth of discharge.
- Lead-acid batteries require ventilation and occasion maintenance; lithium batteries need a compatible battery-management system (BMS) and temperature-aware charging limits.
- Match battery voltage, charger settings, and safety equipment to the chosen chemistry. RV industry guidance covers lithium safety and installation considerations.
Installation and Safety Considerations
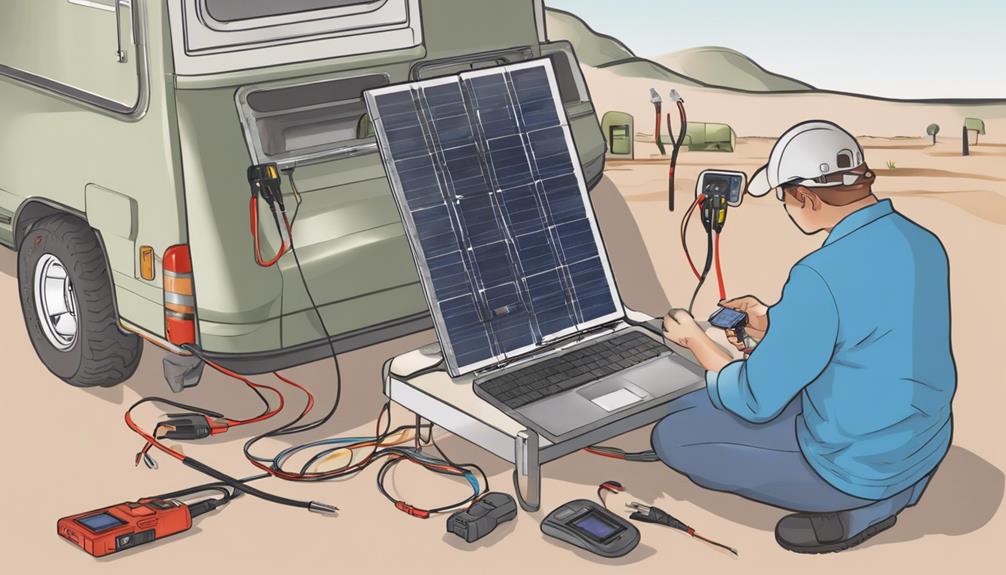
- Design cable runs and conductor sizes for expected current and voltage drop; place fuses or breakers close to the battery as required.
- Install PV and battery disconnects and clearly label circuits.
- Seal roof penetrations and secure mounts for highway vibration and wind loads.
- Protect battery terminals and locate batteries away from heat and moving parts; respect ventilation rules for lead-acid types.
- Follow the RV manufacturer’s instructions and applicable standards (RVIA, NEC) and consult them for code-sensitive work.
High-current DC systems, roof work, and lithium installations often warrant a qualified RV or electrical professional.
Maintenance and Troubleshooting
- Inspect modules, mounts, cable glands, and connectors regularly for damage, corrosion, or loose hardware.
- Clean panels when dirt or residues noticeably reduce output; avoid abrasive cleaners.
- Monitor charge-controller and battery-monitor data to spot underperformance, shading issues, or abnormal voltages.
- If you see error codes, consult the controller and battery manuals before changing settings.
Further Resources
For technical basics and system definitions, see the U.S. Department of Energy’s solar PV resources. For production estimates, try NREL’s PVWatts. For controller technology and specifications, manufacturer technical notes such as those from Victron are useful. For RV-specific standards and lithium safety guidance, consult RV Industry Association materials.
Conclusion
Choose an RV solar kit by starting with a realistic accounting of your loads and the usable capacity of your house battery. Match panels, controller, wiring, and protection to those requirements, and decide between portable and roof-mounted options based on campsite behavior and roof constraints. When you encounter high DC currents, roof penetrations, or lithium installations, involve a qualified installer and follow product and RV manufacturer guidance.