Updated: 21 July 2026. Caravan solar systems are best thought of as a way to maintain and recharge a leisure battery and extend time off-grid, not as a full replacement for campsite mains. This guide explains panel formats, cell technologies, how to size a system, and the other components you need so you can make a confident purchase decision.
Quick definitions
PV (photovoltaic): technology that converts light into direct-current (DC) electricity. MPPT (maximum power point tracking): a smart charge controller that extracts more power from the panel. PWM (pulse width modulation): a simpler controller that ties panel voltage to battery voltage. Ah (amp-hours) and Wh (watt-hours): ways to measure battery capacity and energy (Wh = V × Ah). Inverter: converts battery DC to mains AC for 230V appliances.
What can a caravan solar panel realistically power?
- 12V lights, water pumps, control systems and small electronics (phones, lights, small fans).
- Recharging the leisure battery to support short stays off-grid.
- Running low-power AC loads via an inverter for limited periods—only if battery capacity and inverter rating match the load.
High-power appliances (kettles, heaters, microwave, air conditioning) need a much larger battery, inverter and array than most caravan roofs allow.
The main panel formats
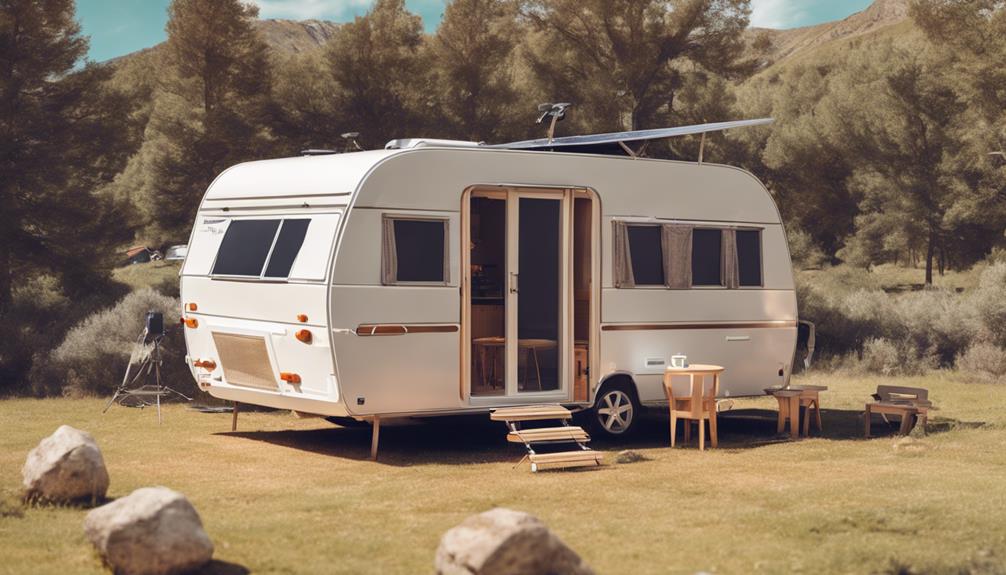
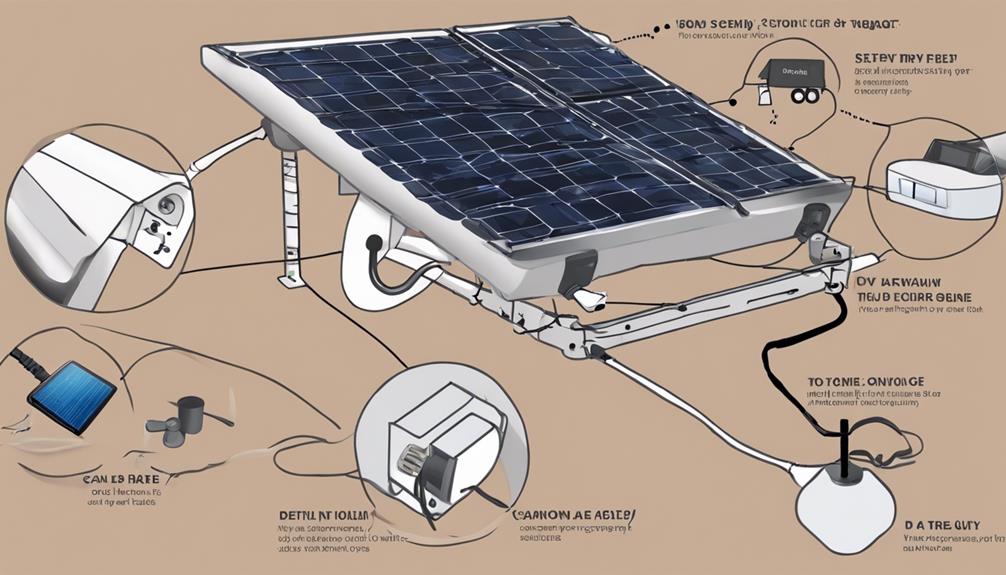
Rigid roof-mounted panels
Durable, glass-fronted, aluminium-framed PV modules for permanent installation. Pros: robust, generally longer lived and low-maintenance. Cons: heavier, visible, require cutting or sealing roof penetrations and are flat-mounted unless you add tilt brackets.
Flexible panels
Thin, low-profile panels that can conform to a curved roof. They are a format, not a cell chemistry: flexible panels may use crystalline cells or thin-film. Pros: light, low visual profile, simpler to stick to a roof. Cons: heat management, walking resistance, potential durability and adhesive failures—installation and product quality matter.
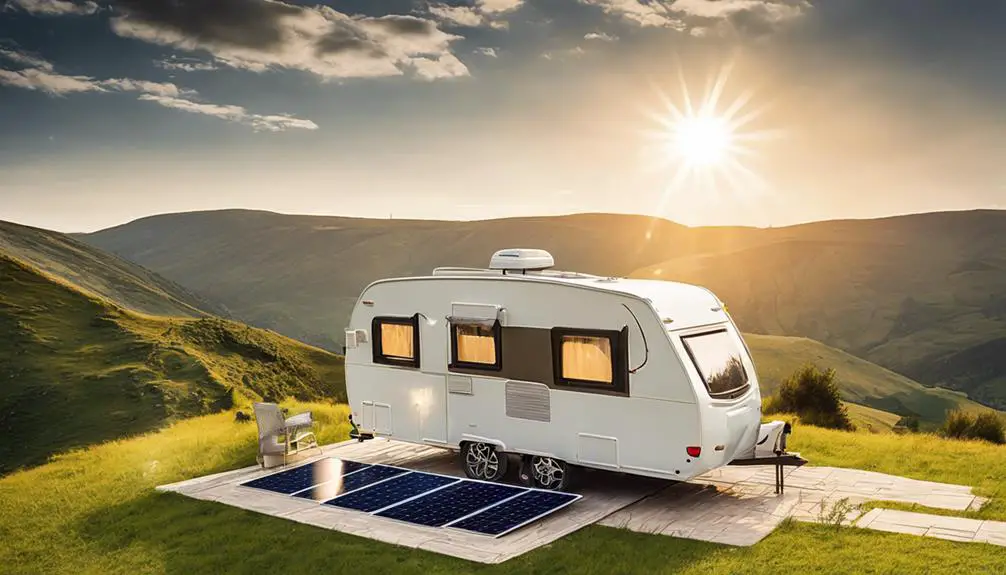
Portable / folding (“briefcase”) panels
Moveable units you can position and angle toward the sun. Pros: better direct-sun output, avoid roof shading, stowable during travel. Cons: setup and storage, theft risk, cable management and outdoor connector needs.
Cell technologies: monocrystalline, polycrystalline and thin-film
- Monocrystalline silicon: higher efficiency per area; generally the practical default where roof space is limited.
- Polycrystalline: older multi-crystal construction; often cheaper historically but less common in new compact modules.
- Thin-film: lower efficiency per area, flexible options exist; can perform relatively better in diffuse light in some cases but needs more roof area.
Choose based on available roof space, weight limits and durability rather than a single “best” technology.
Sizing the system — a simple method
1) List each 12V appliance and note watts or amps and hours used per day. 2) Convert to daily energy: Watt-hours = Watts × hours. 3) Add a margin (20–40%) for cloudy days, losses and battery inefficiency. 4) Compare to realistic panel yield and usable battery capacity.
Example (illustrative): LED lights 20W × 5h = 100Wh; water pump 50W × 0.5h = 25Wh; fridge average 40W × 8h (duty cycle) ≈ 320Wh. Total ≈ 445Wh/day. A 100W panel might produce the equivalent of 3–5 peak-sun-hours depending on season and location; after losses expect ~300Wh on a good day in summer, less in winter. That shows one 100W panel could reduce battery draw but a 200W array or added battery capacity would give more reliable autonomy. Do not treat this example as a guarantee—yields depend on season, orientation and shading.
Charge controllers: PWM vs MPPT
A controller is essential between the panel and battery. PWM controllers are simple and inexpensive. MPPT controllers can harvest significantly more energy, especially when panel voltage exceeds battery voltage, in low light, or when roof space is limited. Match the controller to panel voltage/current, battery voltage and battery chemistry.
Choosing the right leisure battery
Common chemistries: flooded lead-acid, AGM, gel and lithium iron phosphate (LiFePO₄). Focus on usable capacity (Wh or usable Ah) rather than headline Ah. LiFePO₄ offers higher usable capacity, faster charging and lower long-term weight, but requires compatible charging profiles and may need changes to the caravan’s charging system.
Roof-mounted vs portable: which suits you?
- Storage-only or infrequent use: a small permanent panel can help maintenance.
- Regular touring with minimal setup: rigid or flexible roof panels are convenient.
- Shaded pitches and variable sun angles: portable panels give the best per-watt yield if you can manage setup and security.
- Weight-restricted caravans: flexible or smaller rigid panels are preferable.
Installation and safety checklist
- Use correct cable sizes, fuses and an isolator between panel and battery.
- Waterproof cable entry and secure brackets or adhesives.
- Fit a correctly rated charge controller and set it to the battery chemistry.
- Secure and ventilate batteries; follow manufacturer charging profiles.
- Consider a qualified installer for permanent or higher-capacity systems and check insurance/warranty impacts.
Common buying mistakes
- Buying based on panel wattage alone without calculating daily consumption.
- Connecting a panel directly to a battery without a controller.
- Ignoring battery health or compatibility with the controller.
- Underestimating the effects of shading, dirt and seasonality.
Buying checklist
- Panel format and cell technology.
- Rated wattage, open-circuit voltage and operating current.
- Dimensions, weight and roof compatibility.
- Controller type (PWM or MPPT) and rating.
- Battery chemistry and usable capacity.
- Cabling, connectors, fuses and mounting hardware.
- Warranty and installer competence.
Conclusion: match panel format and technology to your roof space, weight limits and how you camp. For many owners a compact monocrystalline panel, MPPT controller and a healthy leisure battery is a practical baseline; portable panels are a strong alternative where shading and angle matter. If you plan permanent work on the caravan electrical system or larger installs, use a qualified installer and follow safety rules.
Safety disclaimer: Working on batteries, mains or permanent wiring can be dangerous. For permanent installations and battery upgrades consult a qualified technician and check current UK regulations and your caravan insurance before modifying electrical systems.