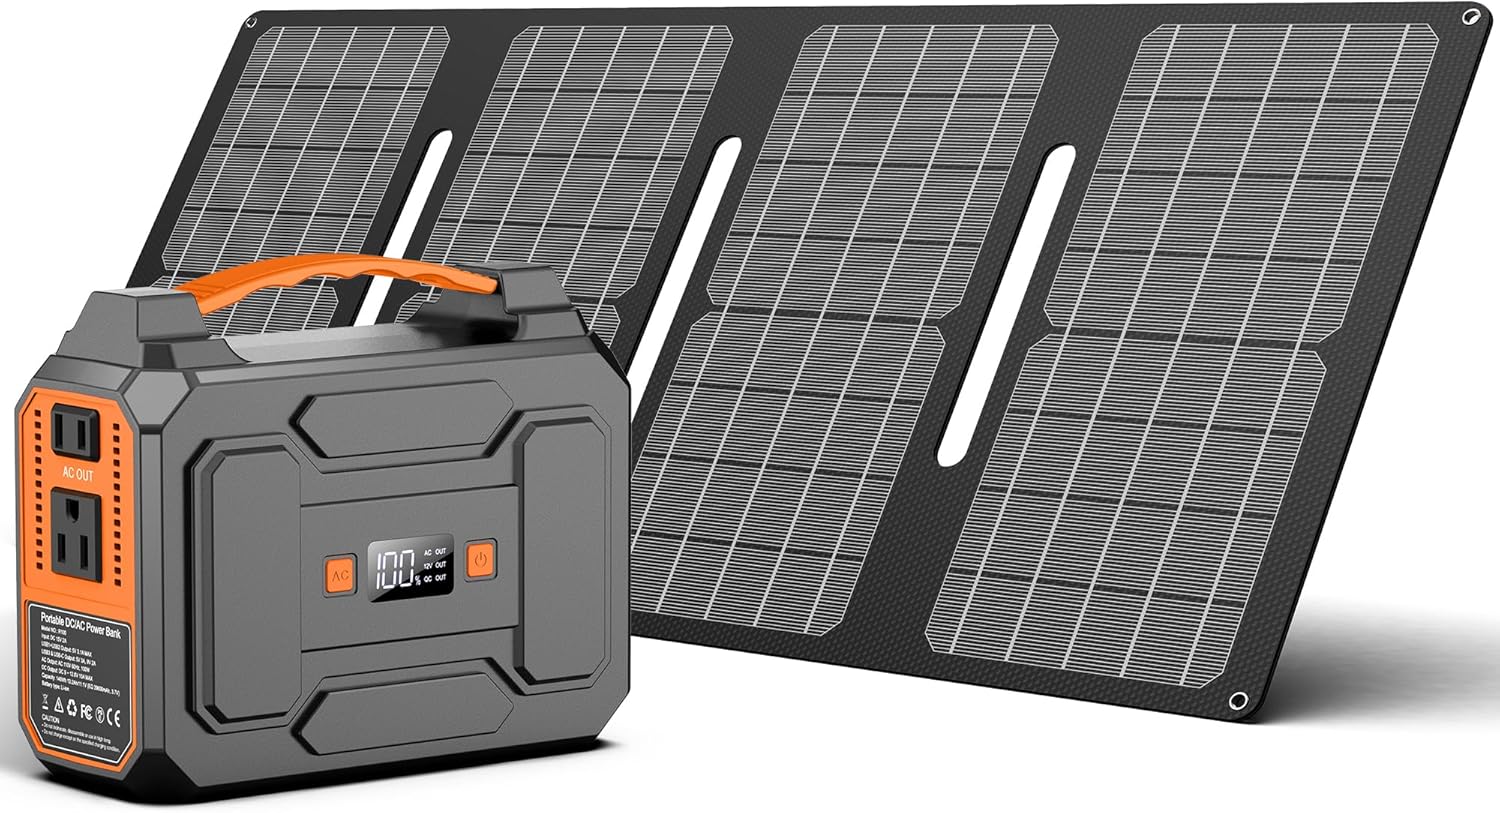
Installing a solar array can transform your electricity bills, increase home value, and reduce your carbon footprint. Whether you are researching a professional install or considering a self install solar approach, understanding the steps, roof preparation, electrical connections, and costs is essential. This article explains solar array installation in practical terms, covers common questions like can you install solar panels yourself, and outlines how to fit solar panels safely and compliantly.
Overview of solar array installation and typical costs
Solar array installation begins with an assessment of your roof, energy needs, and local regulations. A complete installing home solar power system includes panels, inverters, mounting hardware, electrical wiring, and often a monitoring system or battery. Costs vary widely depending on system size, panel quality, and whether you choose a professional installer or self install solar panels. Typical residential systems range from three to ten kilowatts and can cost significantly less per watt in areas with incentives. When budgeting, include permit fees, possible roof reinforcement, and connection charges from your utility.
Preparing your roof and understanding permits
Before fitting solar panels to roof surfaces, inspect the roof condition, orientation, and shading. South facing roofs in the northern hemisphere usually deliver the best yield, but east and west orientations can also work. You should determine whether the roof needs repairs or replacement before installation. Many people ask what do you need to install solar panels: common requirements include a structurally sound roof, accessible attic space for wiring, and local building permits. Photovoltaik installation standards vary by region, so check with local building authorities and your utility to confirm permits and interconnection agreements.
How to install solar panels step by step
For homeowners curious about how to install pv panels on roof, the process follows a consistent sequence. First, design the layout and order compatible panels, racking, and an inverter. Next, install mounting rails or ballast systems and secure them to the roof rafters. Align and attach the panels to the rails, then wire the panels into strings using appropriate connectors and cable management. After the array is mechanically secure, the inverter is mounted and DC wiring is routed to it. Finally, AC wiring from the inverter is connected to your house electrical panel through a dedicated breaker and a utility-interactive meter or switchgear. Each step must follow electrical code and safety standards, and if you are not experienced, a professional electrician should perform the final connection.
Practical tips during installation
When installing solar panels on roof, use durable flashing and sealants around penetrations to prevent leaks. Check torque specifications for mounting bolts, and ensure conduit and junction boxes are weatherproof. If you are planning a self install solar project, arrange for an electrical inspection and utility approval before energizing the system. Even experienced DIYers often hire a certified electrician to complete the grid tie connection for safety and compliance.
Electrical hookup: how to hook up solar panels to house
The electrical connection is one of the most critical components of solar array installation. Solar panels produce DC electricity that must be converted to AC by an inverter before it can power household appliances or feed the grid. For grid-connected systems, the inverter synchronizes with the utility. A dedicated AC breaker is installed in the home electrical panel to route solar-generated power into your home’s circuits. If you plan to add battery storage, additional equipment such as charge controllers or hybrid inverters will be required. Many homeowners ask can you install solar panels yourself: you can assemble and mount racking and panels, but local codes often require licensed electricians to handle service panel modifications and final metering connections.
DIY versus hiring a pro and how to learn solar panel installation
Deciding between a professional installer and a self-install approach depends on your skills, local regulations, and risk tolerance. A qualified contractor will manage permit applications, ensure code compliance, and offer warranties. However, motivated homeowners can reduce costs by doing portions of the work themselves. If you want to learn solar panel installation, start with training courses, manufacturer guides, and hands-on workshops. Many trade schools and nonprofit organizations offer photovoltaic installation classes that cover design, safety, and electrical work. Even with training, consider using a licensed professional for final inspections and grid connections to protect your investment and ensure insurance coverage.
Financial incentives, system sizing, and long term considerations
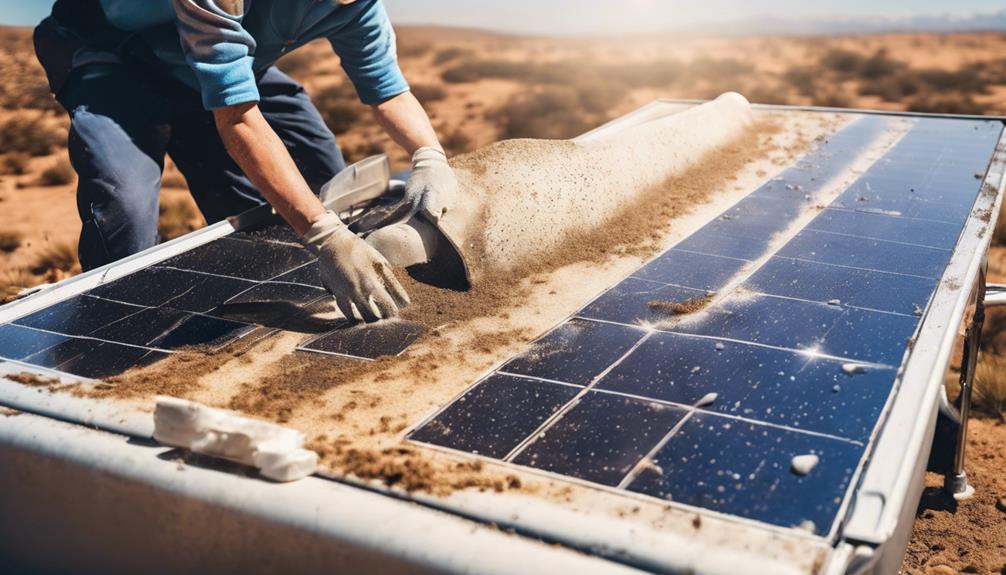
Understanding incentives can dramatically change the economics of a solar array installation. Federal tax credits, local rebates, and net metering policies affect payback periods. When sizing a system, analyze your historical electricity usage and future changes such as electric vehicles or heat pumps. Regular maintenance, such as cleaning panels and monitoring performance, helps preserve system output. If you plan installing solar panels on roof with the intent of selling the home later, a well-documented professional installation typically increases resale value and buyer confidence.
Solar array installation is a practical route to energy independence and reduced utility costs when planned carefully. Whether you choose a professional installer or take on a self install solar project, prioritize safety, permits, and correct electrical work. Learning the steps for how to fit solar panels and how to hook up solar panels to house will help you make informed decisions, keep costs under control, and ensure a reliable installed system that serves your home for decades.