Outdoor solar lights are an easy, low-cost way to add ambiance and improve safety around a home, but when the lights dim or stop charging, the culprit is often the small photovoltaic cell itself. A replacement solar panel for outdoor lights can restore performance without replacing the entire fixture, saving money and reducing waste. This article explains how to choose the right replacement, guides you through a safe swap, and explores maintenance tips and when a larger residential solar panel project might be a better long-term solution.
Why replace the solar panel instead of the whole light
Many outdoor lights fail years before the internal light fixtures wear out because the solar panel has degraded, cracked, or lost its electrical connections. Replacing only the solar cell or module is usually faster and less expensive than buying new lights. For garden fixtures and pathway luminaires, a replacement solar panel for outdoor lights typically restores charging capacity and brings night-time brightness back to original levels. Moreover, swapping a damaged panel reduces landfill waste and allows homeowners to retain fixtures that still match their landscape design.
How to choose the right replacement solar panel for outdoor lights
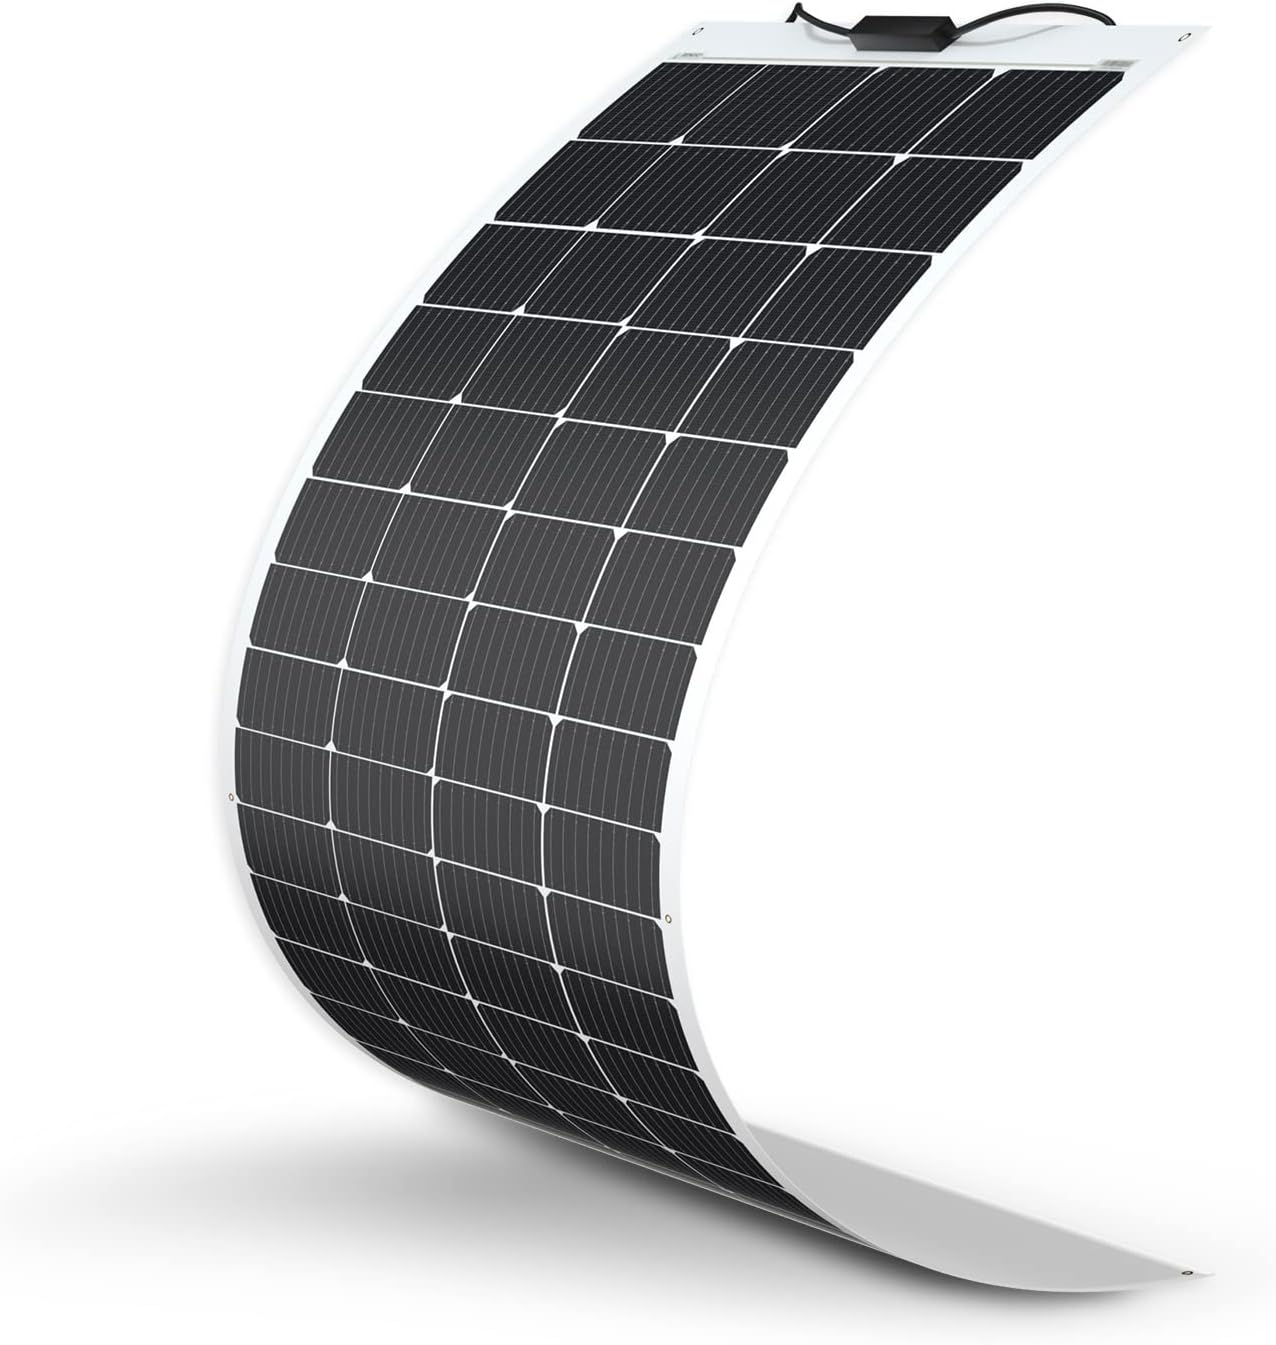
Choosing a compatible replacement requires checking a few technical and physical details. The two most important electrical specifications are open-circuit voltage and maximum power current; these must match or be very close to the original panel so the light’s charge controller and battery function correctly. Physical size and mounting screw positions also matter because many garden lights use small, molded housings where a mis-sized panel won’t fit. Finally, look at connector types and polarity to ensure proper wiring. When shopping, identify the original panel’s voltage (often 2V to 6V for small fixtures), nominal watts, and dimensions, and compare those values to the replacement. Many suppliers list replacement panels specifically for garden light models, and searching for a replacement solar panel for garden lights with the model number of your fixture usually yields the best match.
Step-by-step: replacing a solar panel for garden lights
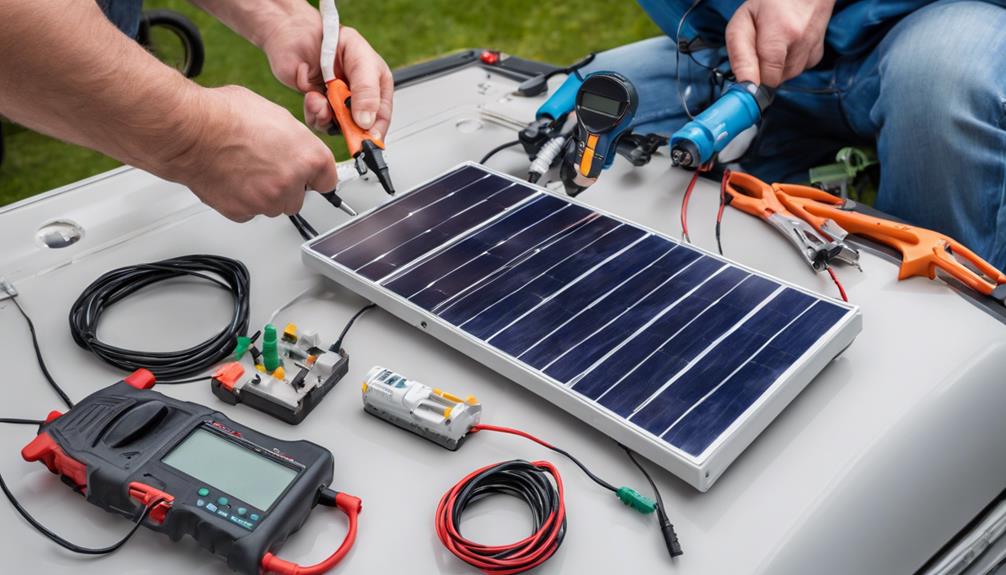
Begin by turning the light off or covering the panel so it cannot charge during your work. Remove the fixture from its base and open the housing using the appropriate screwdriver; some fixtures use clips or rubber seals that require gentle prying. Take clear photos of the original wiring configuration before disconnecting anything—this helps prevent accidental polarity reversal. Carefully detach the old panel from its mount and disconnect the wires. If the battery is user-replaceable, consider testing or replacing the battery while you are inside the housing, since a weak battery can mimic panel failure. Fit the new panel into the housing, reconnect wires following your reference photos, secure the panel, and reseal the housing to keep moisture out. Finally, place the light in sunlight to confirm the charging indicator or that it reaches full brightness at night. If the replacement is a universal or larger panel, verify that the mounting and weather sealing are intact to protect internal components.
Maintenance and troubleshooting after replacement
After installing a replacement solar panel for outdoor lights, regular maintenance will maximize lifespan and performance. Clean the panel surface periodically to remove dust, pollen, and bird droppings that reduce light absorption. Inspect seals and gaskets for cracks and replace any degraded components to prevent water intrusion that can corrode connections and the battery. If the light still performs poorly after installing a replacement, check the rechargeable battery with a multimeter; rechargeable NiMH and NiCd batteries in garden lights commonly need replacement every two to three years. Also verify that the panel orientation provides several hours of direct sun or at least strong indirect light during peak sun hours. If the fixture is under trees or a porch, consider relocating it to a sunnier spot to improve charging. For wired connections, ensure that polarity is correct and that no wires are shorting against the housing.
When to consider upgrading to residential solar panels
Replacing individual solar panels for outdoor lights makes sense for spot repairs and budget-conscious maintenance, but homeowners should evaluate larger upgrades if they find many fixtures failing or if they want long-term benefits like lower utility bills. Residential solar panels and an integrated battery storage system can power landscape lighting centrally, offering consistent brightness and simplified maintenance compared with dozens of individual solar cells. A centralized system also allows for higher-capacity batteries and smarter controls, improving reliability through seasonal changes. If you are already planning a roofing or landscaping renovation, adding a residential solar system could integrate landscape lighting into a broader energy plan that includes home security lighting, smart controls, and grid-tied benefits. Consulting with a local solar installer will help determine whether incremental fixes or a comprehensive residential solar panels project makes the most financial and environmental sense for your property.
Replacing a solar panel for outdoor lights is an accessible DIY task that can restore function and extend the life of garden fixtures. By carefully matching electrical and physical specifications, following safe replacement steps, and maintaining panels and batteries, homeowners can keep outdoor lights bright for years. When multiple fixtures repeatedly fail or when broader energy savings are a priority, exploring residential solar panel solutions offers a logical path to more reliable and efficient outdoor lighting as part of a whole-home energy strategy.