Solar pool heating uses solar thermal collectors—typically unglazed polymer or rubber panels—to heat pool water by routing filtered water through channels warmed by sunlight. These collectors transfer heat directly to the water; they are not photovoltaic (PV) modules that generate electricity. Proper planning covers collector sizing, siting, plumbing integration, controls, freeze protection, and permits rather than serving as a substitute for the collector manufacturer’s installation manual or local code requirements.
Note on permits and safety
Before buying equipment or starting work, contact your authority having jurisdiction (AHJ) or local building department. Permits, required documentation, and inspections vary widely for roof-mounted collectors, structural supports, electrical controls, or new pumps. Also check homeowner association rules. Treat this article as an installation overview—not a how-to for roof penetrations, electrical wiring, or structural work.
Is a solar pool-heating system right for your pool?
Consider these factors:
- Climate and solar resource: Solar systems are most effective where you have consistent sun during the intended swimming season.
- Swimming season and target temperature: Do you want a small seasonal boost, an extended season, or year-round comfort? colder climates may need larger arrays or a backup heater.
- Pool size and shape: Surface area is the key input for preliminary sizing (see next section).
- Shading and mounting options: Roofs, ground racks, fences, or sheds can work if they receive strong solar exposure during the heating season.
- Pool-cover habits: A cover greatly reduces evaporative heat loss and lowers the collector area or run-time needed to maintain temperature.
Choosing the right collector type
For most outdoor residential pools, unglazed solar thermal collectors (polymer panels, rubber mats) are the standard because pools require modest temperature rises. Glazed collectors are generally reserved for indoor pools, spas, or colder climates where higher operating temperatures are needed. Decide between a direct pool-water, open-loop configuration and alternative arrangements only after reviewing manufacturer guidance and local code.
Estimating collector size
As a planning range, the U.S. Department of Energy and industry guidance commonly use roughly 50% to 100% of the pool surface area as collector area. The correct size depends on solar resource, desired season length, wind exposure, enclosure or shading, collector orientation, and how often a cover is used. Do not treat any single ratio as universal.
Example (estimate only): a 16 ft × 32 ft pool has 512 ft2 (about 47.6 m2) of surface. A 50%–100% planning range would suggest about 256–512 ft2 (24–48 m2) of collector area. Site-specific design may shift that range.
Location, orientation, and mounting considerations
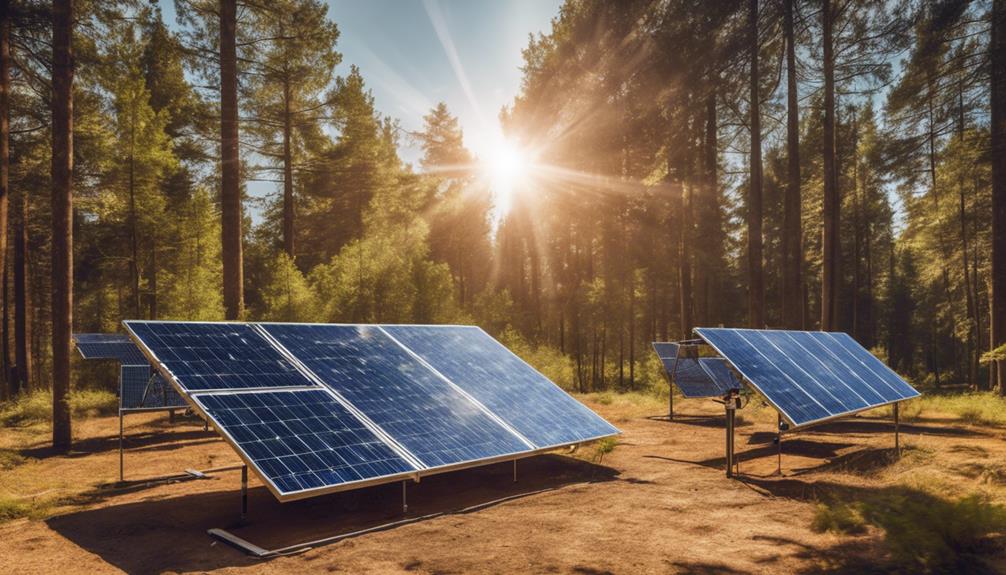
- Place collectors where they receive strong sun during the heating season and avoid persistent shade.
- True south is often favorable in the Northern Hemisphere but follow manufacturer tilt and orientation guidance for best results.
- Roof installations require evaluation of roof age, structural capacity, wind loads, flashing details, and safe access—have a professional assess roof work.
- Ground or rack mounts avoid roof penetrations but need suitable footprint and exposure.
Key components of a solar pool-heating system
- Solar thermal collectors and mounting hardware
- Supply and return piping sized and rated for pool water, sunlight exposure, and system head
- Diverter or three-way solar valve and isolation valves
- Check valve(s) where required
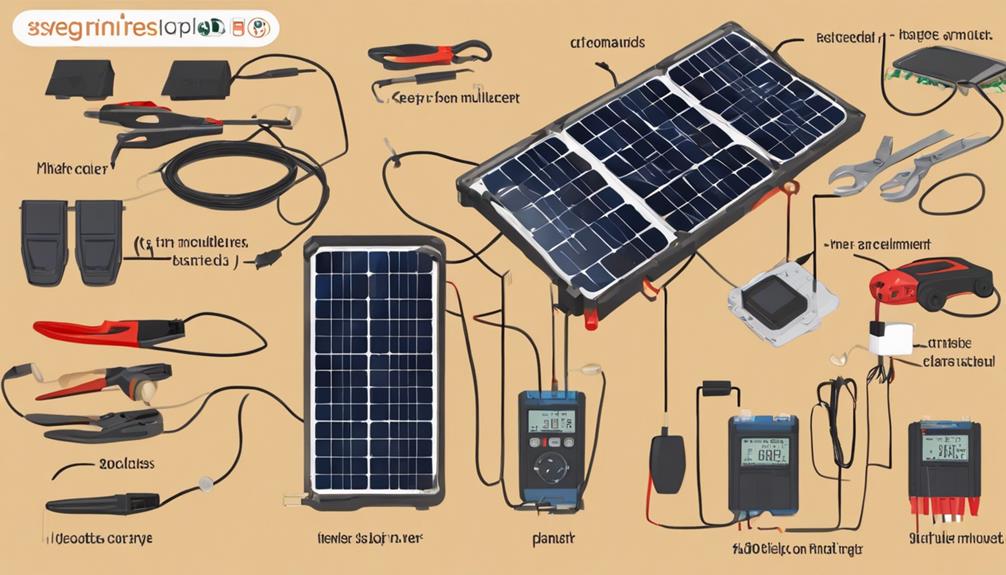
- Differential temperature controller with pool-water and collector-temperature sensors
- Optional booster pump if existing pump cannot meet required flow and head
- Freeze-protection hardware (draindown, drainback, freeze valves, or closed-loop solutions) appropriate for your climate
- Integration point upstream of any conventional backup heater so the solar-heated water is used first
High-level installation overview
The following is a planning sequence—follow manufacturer manuals and local code for specifics:
- Shut down and isolate pool equipment and confirm permit requirements.
- Confirm approved plumbing layout and collector mounting details with the manufacturer.
- Install mounting hardware and collectors per the approved mounting detail (professional roof work recommended).
- Plumb supply and return lines with diverter/three-way valve, isolation valves, and required check valves or drain points.
- Install temperature sensors and the differential controller; wire any automatic valve actuators per code.
- Pressure-test plumbing, verify pump flow and head, and adjust or add a booster pump if manufacturer flow requirements are unmet.
- Commission the system and test freeze-protection and seasonal shutdown procedures.
Operation, maintenance, and common questions
Operate the solar valve or controller so collectors run only when collector temperature exceeds pool temperature by a set differential. Use a pool cover whenever the pool is not in use to minimize evaporation and preserve heat. Maintain the system by inspecting for leaks, checking valve and controller operation, keeping collectors clear of debris, and following manufacturer winterization steps.
FAQ highlights:
- Can I use my existing pump? Possibly—but don’t assume adequacy. Verify required flow and head with the manufacturer or installer.
- Do they work on cloudy days? Collectors still capture diffuse solar energy, but output is reduced compared with sunny days.
- Will solar replace my gas heater? Solar can extend the season and reduce backup run-time but may not guarantee target temperatures in all weather.
- What about freezes? Freeze-prone areas need approved drainback/drain-down or other manufacturer-recommended protection—do not rely on simply running the pump.
When to hire a professional
Hire a qualified installer or tradesperson for roof-mounted collectors, structural or roof alterations, electrical or control wiring, complex plumbing, booster-pump selection, or installations in freeze-prone or high-wind areas. A professional can also confirm permit needs and provide manufacturer-compliant mounting and flashing details.
Authoritative guidance for system types, sizing ranges, and the importance of covers is available from the U.S. Department of Energy and regional sources such as the Florida Solar Energy Center; consult manufacturer manuals and your AHJ for the final design and permit checklist.