Last updated: June 23, 2026
Meta: Discover the advantages of solar panels for caravans (RV/van/camper): how they work, realistic yields, sizing tips, costs (as of June 23, 2026) and installation basics.
Introduction
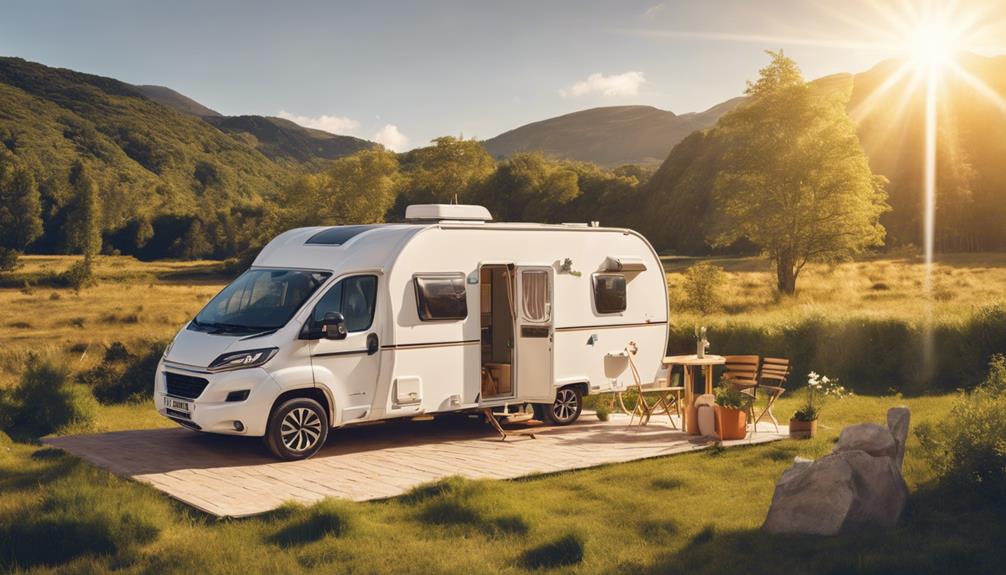
Installing solar panels on your caravan / caravan (RV/van/camper) gives you quieter boondocking, lower running costs and fewer hookups — but results vary with system size, location and usage. This guide explains what solar actually does, practical benefits, how to size a system, component choices, costs and realistic limitations.
What caravan solar actually does
At its simplest: PV panels convert sunlight into DC power that flows through a charge controller to charge a battery bank; battery power then runs 12V loads or is inverted to AC for household appliances. Typical components are:
- Solar panels (rigid or flexible PV modules)
- Charge controller (MPPT or PWM)
- Battery bank (AGM/lead‑acid or LiFePO4) with BMS
- Fuses/isolators, cabling and optionally an inverter
Key terms: peak sun hours (PSH), watt (W) / watt‑hour (Wh) / kilowatt‑hour (kWh), amp‑hour (Ah), MPPT (Maximum Power Point Tracking), PV (photovoltaic).
Top practical benefits
- Freedom to boondock: Solar reduces dependence on shore power and noisy generators so you can stay off‑grid longer.
- Lower running costs & quieter operation: After the initial investment you get near‑free daytime energy and less generator runtime.
- Predictable, small maintenance needs: Panels have no moving parts; visual checks and 1–2 cleanings per year are usually sufficient (more in dusty climates) (SurgePV).
- Environmental benefits: Reduces fossil‑fuel generator use and emissions (EPA/DOE context).
- Battery longevity when managed right: Proper charging with the correct controller and BMS extends battery life, especially for LiFePO4 systems.
Practical yield example: a 100 W rooftop panel typically delivers ~300–600 Wh/day in good sun — enough to charge phones, run LEDs and support a small 12V fridge part of the day (EcoFlow).
How to size a caravan solar system
Follow these steps:
- Inventory loads: List appliances and their Wh/day. Typical modest boondocking use (lights, fans, phone/laptop and a 12V fridge) is ~700–1,800 Wh/day; heavy use runs into multiple kWh/day (OffGridRVHub).
- Choose usable battery capacity: Convert Wh to Ah at system voltage. Example: 1,200 Wh/day ÷ 12 V ≈ 100 Ah usable. LiFePO4 provides much more usable capacity per Ah than lead‑acid because of higher depth of discharge (DoD) (RELiON).
- Calculate panel array: Divide daily Wh needs by peak sun hours for your area (use NREL PVWatts for location‑specific estimates), then add ~20–30% for system losses and inefficiencies (PVWatts).
- Pick safety margins: Allow for shading, seasonality and battery charging inefficiencies.
Sample builds (estimates as of June 23, 2026)
- Weekend kit — 100 W panel, MPPT 10 A controller, 100 Ah AGM: ~300–600 Wh/day, good for lights/phones and occasional fridge support. Cost ~ $300–$900 DIY (market snapshot).
- Balanced boondocker — 300–400 W panels, MPPT 40 A, 100–200 Ah LiFePO4: ~1,000–2,000 Wh/day, supports fridge, devices, occasional microwave use (small). Cost DIY ~$700–$2,500; pro install higher depending on battery choice (SolarRVTipes).
- Full‑timer — 600–1,200 W array, MPPT 60 A+, 400+ Ah LiFePO4, inverter 2–3 kW: multi‑kWh/day capacity for AC and heavy appliances — expensive and heavier; professional design recommended.
Key component choices and tradeoffs
- Panels: Monocrystalline rigid panels are efficient and durable; flexible panels are lighter/low‑profile but usually less efficient and can heat faster.
- Controllers: MPPT recovers ~10–30% more energy than PWM in caravan setups and is recommended for multi‑panel arrays, cold/low‑light conditions and lithium batteries; PWM can be acceptable for tiny trickle systems (Victron).
- Batteries: LiFePO4 offers higher usable capacity, faster recharge and longer cycle life but higher upfront cost and needs a BMS; AGM/lead‑acid is cheaper up front but heavier with lower usable capacity.
- Wiring & safety: Proper fusing, isolators and suitably sized cabling are essential — undersized or unfused systems are fire risks.
Installation & maintenance basics
Mount panels securely, seal roof penetrations professionally, locate fuses near the battery, and fit an isolator to disconnect panels for service. Avoid partial shading; if shading is unavoidable consider panel placement, parallel strings or bypass/optimizer solutions. Routine maintenance is light: visual checks and 1–2 cleanings/year for most climates; more in dusty areas (SurgePV).
Costs & budgeting (as of June 23, 2026)
Expect small DIY starter kits (100–200 W) to run ~$300–$900; medium DIY systems (300–400 W + battery) ~$700–$2,500; professional installs commonly range $1,200–$7,500 depending on battery chemistry and labor. Battery choice is the largest driver of cost (EcoFlow; SolarRVTipes).
Realistic limitations & safety
Solar is excellent for lights, electronics, fridges and slow loads. It won’t economically replace high‑power AC air conditioners or continuous heavy appliance use unless you invest in very large arrays and battery banks. Always use correct fusing, a certified battery BMS for LiFePO4, and get complex wiring and roof sealing done by an RV electrician or certified installer.
Quick decision checklist
- How many Wh/day do you use? (Make a realistic load list.)
- Do you boondock frequently or camp at hookups?
- Is weight/roof space limited?
- Prefer DIY or professional installation?
- If in cold climates, plan for MPPT and battery low‑temp protections.
FAQ (short)
Q: Will one 100 W panel run my fridge?
A: It helps but probably won’t fully cover a fridge 24/7; 100 W yields ~300–600 Wh/day depending on sun (EcoFlow).
Q: Can I charge while driving?
A: Yes — DC alternator charging with a proper DC‑DC charger complements solar but doesn’t replace daytime PV generation.
Q: Is panel theft a problem?
A: Secure mounting and parking choices reduce risk; consider bolted mounts if parked in public areas.
Q: Do panels work in winter?
A: Yes, but output falls with shorter days; use PVWatts for location estimates (NREL PVWatts).
This article is informational only — an RV electrician or certified installer should perform complicated wiring, roof sealing and battery installations.
Sources: NREL PVWatts; EcoFlow 100 W guide; Victron (MPPT vs PWM); RELiON/LiFePO4 materials; market cost snapshots as of June 23, 2026 (PVWatts, EcoFlow, Victron, RELiON, SolarRVTipes).
Next steps: Make a load list, plug your location into PVWatts for local PSH, then compare sample kits vs custom builds. If you’re unsure, get a site visit from an RV solar installer.


