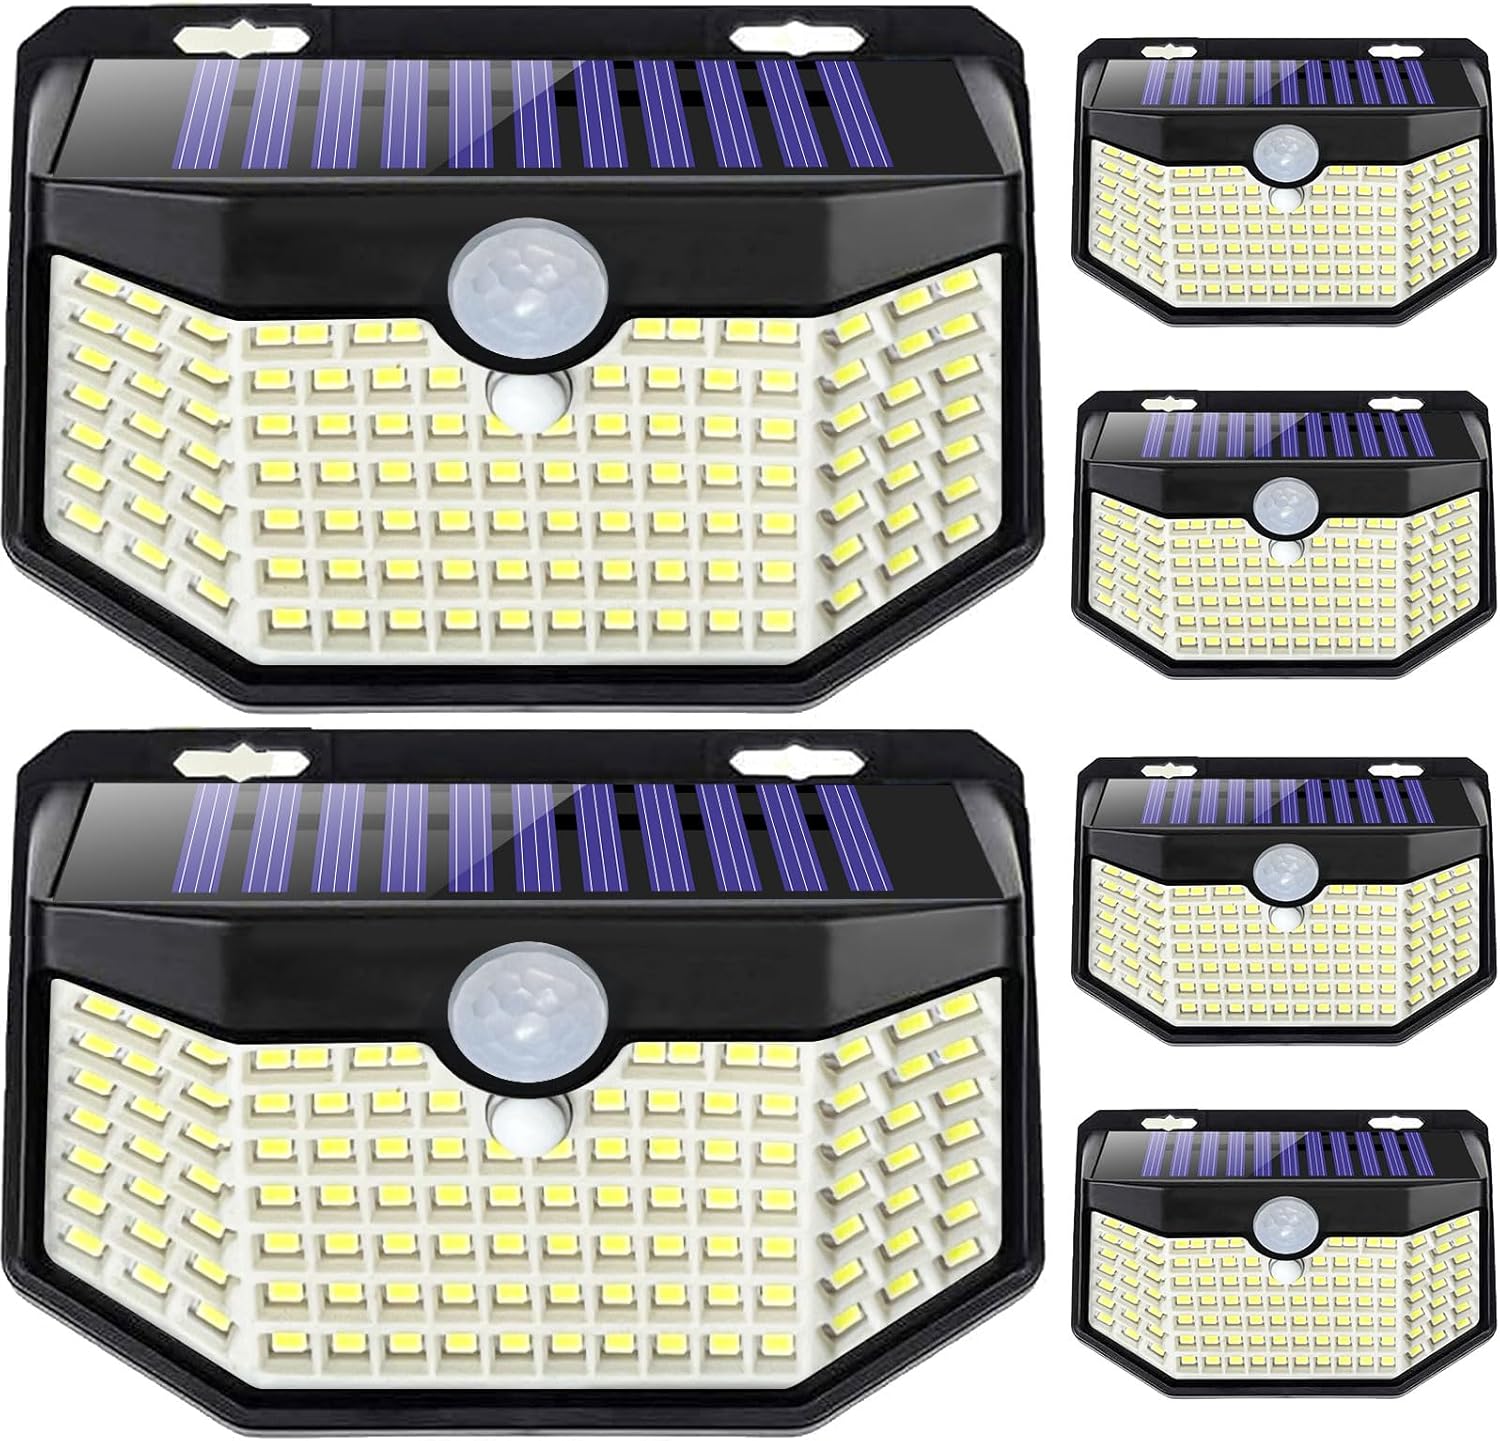
Creating your own solar system can be a rewarding way to reduce energy bills, increase resilience, and take control of your home’s power supply. Whether you’re interested in a small system to power a shed or a full household setup, modern complete solar kits and systems make the process accessible to homeowners and DIY enthusiasts. This article walks through planning, kit selection, installation basics, sizing and storage, practical applications, and maintenance so you can confidently build a solar array that meets your needs.
Planning your solar project: how to prepare solar system
Successful solar projects start with careful preparation. Assess your current energy usage by reviewing utility bills for at least a year to capture seasonal variations. Evaluate your roof orientation, tilt, shading, and available square footage; these factors determine panel performance and the number of modules required. Local permitting and utility interconnection requirements vary, so research regulations and possible incentives or rebates in your area before purchasing equipment. Budgeting should include not only panels but also inverters, racking, wiring, and safety equipment, plus professional inspection or electrician services if you prefer certified installation.
Choosing a complete solar kit
Complete solar kits and systems simplify decision making by bundling compatible components: panels, inverter, mounting hardware, and often a battery-ready charge controller. When you select a kit, look for systems sized to your calculated load, warranties on panels and inverters, and company reputation for support. Kits designed for DIY installation often include clear instructions and customer service hotlines. For those who want to build your own solar array, kits that allow flexibility in panel configuration help adapt to roof space constraints while keeping component compatibility guaranteed.
Installation steps: from mounting to wiring
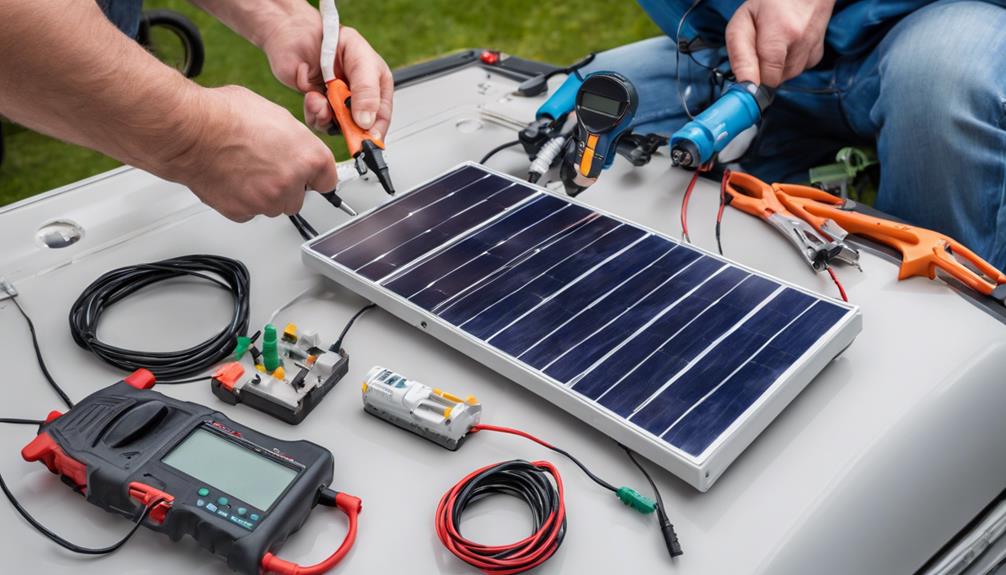
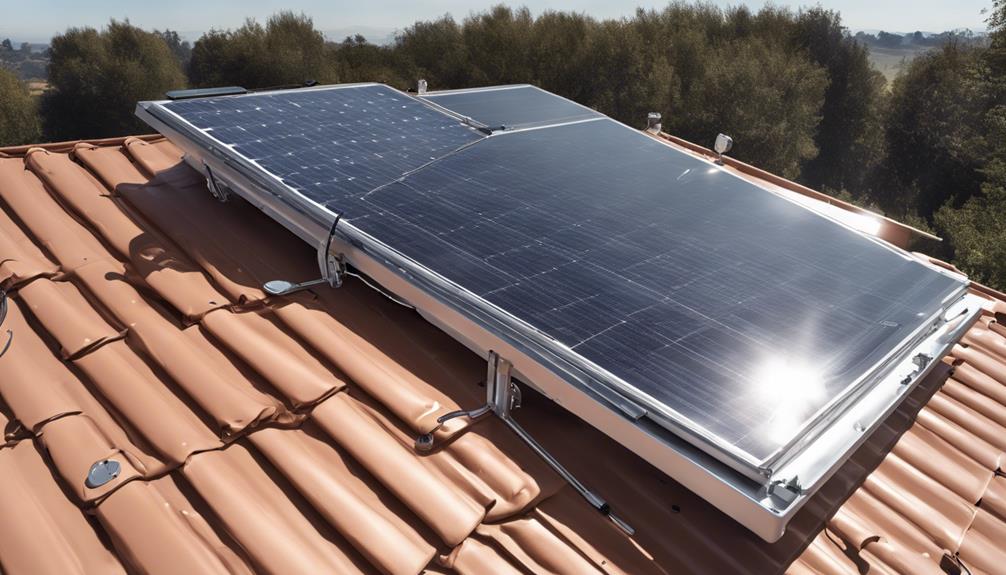
Installing a residential solar system involves several coordinated steps. First, mount the racking system securely to your roof or ground frame, ensuring waterproof flashing and correct alignment for maximum sun exposure. Next, install the solar panels onto the racks and wire them in series or parallel per the kit’s specifications to achieve the correct voltage and current for your inverter. After panels are connected, the inverter is installed near the main electrical panel or in a ventilated area; it converts DC power from the panels into AC power for household use. Finally, connect the inverter to your home’s electrical system through a dedicated circuit breaker and complete any required inspections before turning the system on.
Safety and electrical considerations
Working with electricity and rooftop mounts carries risk. If you are not experienced with electrical systems, hire a licensed electrician for the final connections or for the entire installation. Grounding, proper conduit use, and adherence to national and local electrical codes are essential. Many jurisdictions require an inspection and approval before you can operate a grid-tied system, and your utility may require an interconnection agreement for net metering or grid feed-in.
Sizing and battery storage for home power
Deciding how large to make your system depends on your goals. If your priority is lowering monthly bills, size the array to offset a percentage of your typical energy consumption. If your goal is backup power or off-grid living, prioritize battery capacity and choose hybrid inverters that support storage. Battery storage transforms a solar array into a more reliable power source by capturing excess generation for use at night or during outages. Lithium-ion batteries now dominate residential systems for their efficiency and lifecycle, but lead-acid remains an economical option for smaller backup setups. Properly sizing batteries and inverters avoids overtaxing equipment and ensures you have usable energy when you need it.
Common use cases and practical applications
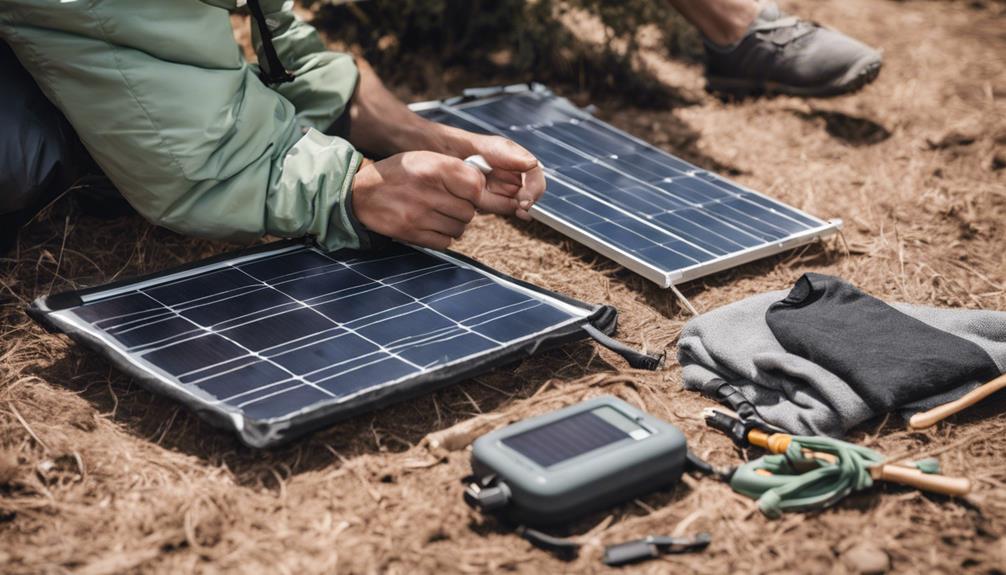
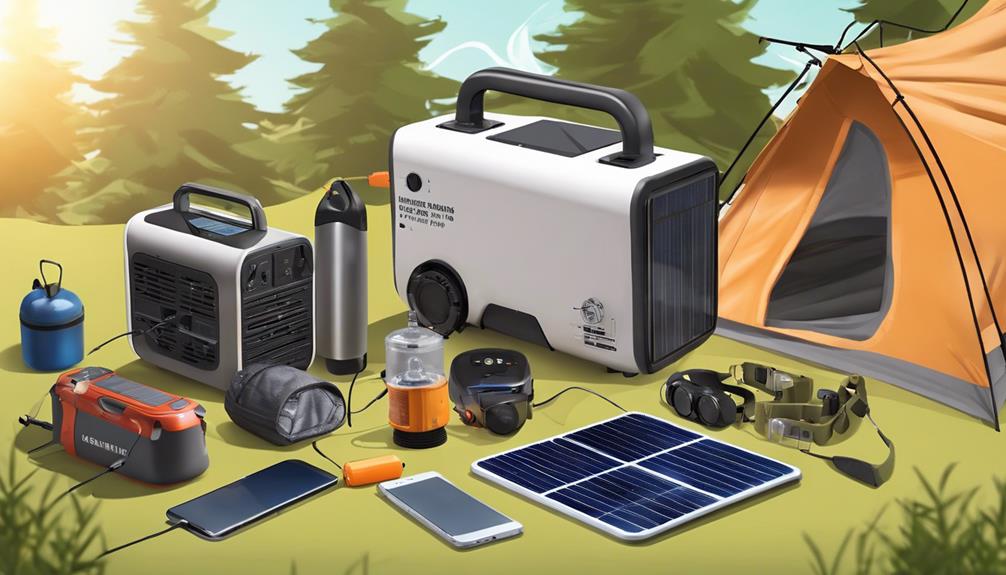
Complete solar kits and systems support a variety of applications. Homeowners can create your own solar system to power an entire house, supplement grid electricity to lower bills, or install a smaller array for specific loads like water pumps, workshops, or home security systems. For weekend properties and cabins, compact off-grid systems with batteries provide reliable power without wiring to a distant grid. Rural businesses and farms can use solar arrays to lower operating costs and power electric fences, refrigeration, or irrigation systems. The modular nature of many kits allows you to start small and expand the array later as budget or needs change.
Maintenance and long-term considerations
Solar systems are relatively low maintenance, but periodic care extends performance. Clean panels as needed in dusty environments, check for shading from growing trees, and visually inspect mounts and wiring annually. Monitor system output through the inverter’s display or a remote monitoring app to spot drops in production that signal issues. Keep warranty and installation documentation organized; most panels have 25-year performance warranties and inverters often have shorter warranties that can be extended. Planning for future expansion or battery replacement helps you make cost-effective choices today while keeping options open.
Creating your own solar system is achievable for many homeowners with the right preparation, a suitable complete solar kit, and attention to installation and safety. By evaluating energy needs, selecting compatible components, and planning for storage and maintenance, you can build a system that lowers costs, increases resilience, and supports sustainable living. Whether you choose to build your own solar array or hire professionals, the knowledge you gain during the process will help you make informed decisions that pay off for years to come.