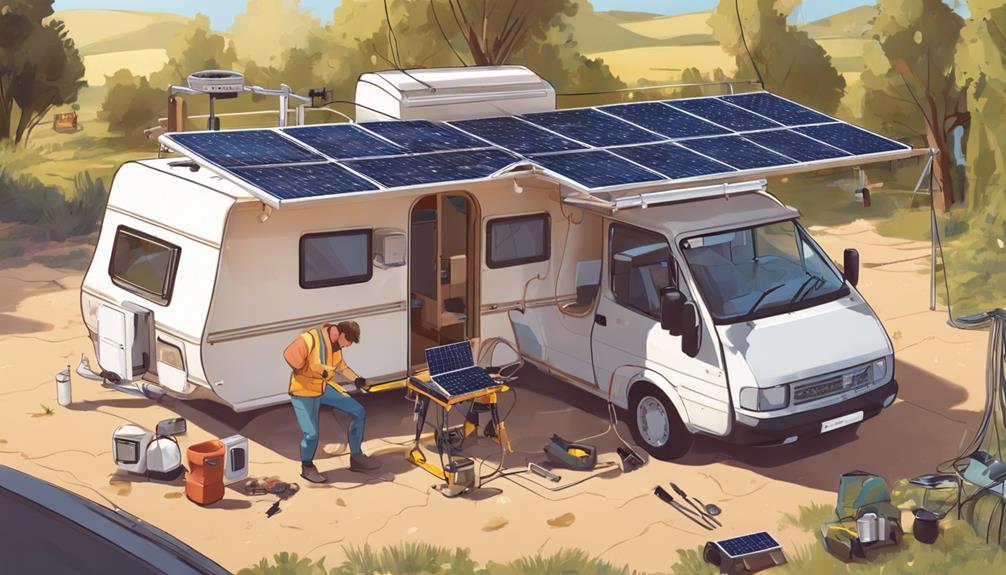
To master DIY caravan solar panel installation, assess power needs first. Factor appliance consumption and choose efficient panels. Plan layout to maximize sunlight, avoiding shade, and secure wiring. Use deep-cycle batteries with panels, connect the controller correctly, and monitor performance. For safety, install securely, insulate wiring, and keep panels clean for top output. Test regularly for wear or damage, monitor voltage, and promptly resolve issues. Following these steps guarantees peak energy efficiency for your off-grid adventures.
Assessing Your Caravan's Solar Needs
When determining your caravan's solar needs, assess the amount of electricity required for your appliances and devices. Calculate the power consumption of each item to understand the total energy demand. Consider the energy efficiency of your appliances as lower consumption means less strain on your solar setup. This assessment will help you determine the necessary solar capacity for your caravan.
In addition to solar panels, battery storage is essential for storing excess energy generated during the day for use at night or on cloudy days. Choose a battery with sufficient capacity to meet your energy requirements and guarantee a reliable power supply.
Opt for deep-cycle batteries designed for solar applications, as they're more durable and efficient compared to regular car batteries.
Choosing the Right Solar Panels
Assessing your caravan's solar needs will lead you to the next step: selecting the appropriate solar panels for top energy production and efficiency. When choosing solar panels, take into account their efficiency rating, which indicates how effectively they convert sunlight into electricity. Higher efficiency panels may cost more upfront but can offer superior long-term energy production, making them a valuable investment.
Panel efficiency is crucial for maximizing the power output within limited space on a caravan roof. It's vital to strike a balance between panel efficiency and budget considerations. While high-efficiency panels may provide superior performance, they often come with a higher price tag. If you have budget constraints, you may consider slightly less efficient panels that still meet your energy needs.
Prior to making a purchase, compare various panel options, taking into consideration factors such as wattage, size, and warranty. Seek panels that achieve a balance between efficiency and affordability to guarantee optimal energy production while remaining within your budget constraints.
Planning the Installation Layout
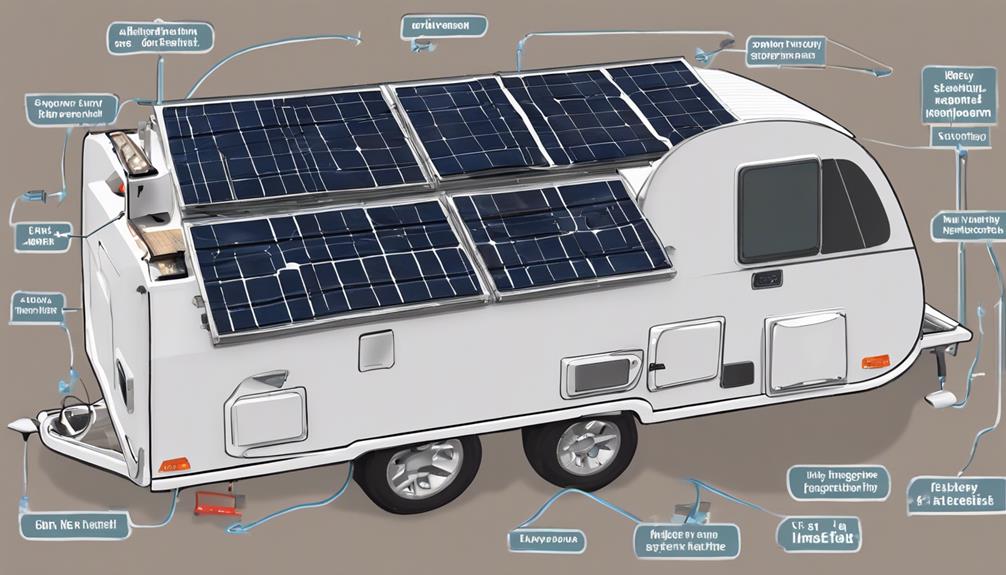
Consider the layout of your caravan roof carefully to strategically plan the installation of your solar panels. When determining the placement, make sure that the panels are positioned to receive maximum sunlight throughout the day. This includes taking into account any potential shading from roof vents, air conditioning units, or other obstructions. To maximize energy production, place the panels in areas with minimal shading considerations.
When planning the wiring placement, keep safety in mind. Securely fasten all wires to prevent them from getting tangled or damaged while driving. Additionally, make sure that the wiring is properly insulated and protected from the elements to avoid any potential electrical hazards.
To maintain your solar panel system, periodically check for debris accumulation or shading that may have developed over time. Regularly clean the panels to ensure optimal efficiency. Safely perform maintenance tasks and keep all connections tight and secure to prevent any issues.
Installing Solar Charge Controller
To guarantee efficient energy management for your caravan solar panel system, the next step involves installing the solar charge controller. The solar charge controller is a vital component that regulates the voltage and current coming from the solar panels to optimize the batteries are properly charged and protected from overcharging.
When installing the solar charge controller, start by connecting the controller wiring. This typically involves connecting the positive and negative wires from the solar panels to the corresponding terminals on the controller. Make sure to follow the manufacturer's instructions to ensure proper wiring.
Additionally, the solar charge controller plays a significant role in voltage regulation. It monitors the battery voltage and adjusts the charge current accordingly to prevent overcharging, which can damage the batteries. This feature helps extend the lifespan of your battery system and ensures peak performance of your caravan solar panel setup.
Connecting Panels to Battery System
When connecting your solar panels to the battery system in your caravan, make sure proper wiring for efficient energy transfer. Begin by identifying the positive and negative terminals on both the solar panels and the batteries.
Use appropriately sized cables to connect the panels to a solar charge controller, making certain that the connections are secure and free of any damage. Next, link the charge controller to the batteries using the correct gauge wires, following the manufacturer's recommendations for peak performance.
To maintain your batteries, regularly check the wiring connections for any signs of wear or corrosion that could impede the flow of electricity. Consider the angle at which your solar panels are installed to maximize sunlight exposure and energy production.
Additionally, verify that the inverter is correctly installed to convert the DC power from the batteries into AC power for your appliances. By paying attention to these details during the installation process, you can create a reliable and efficient solar power system for your caravan.
Testing and Monitoring Solar Setup
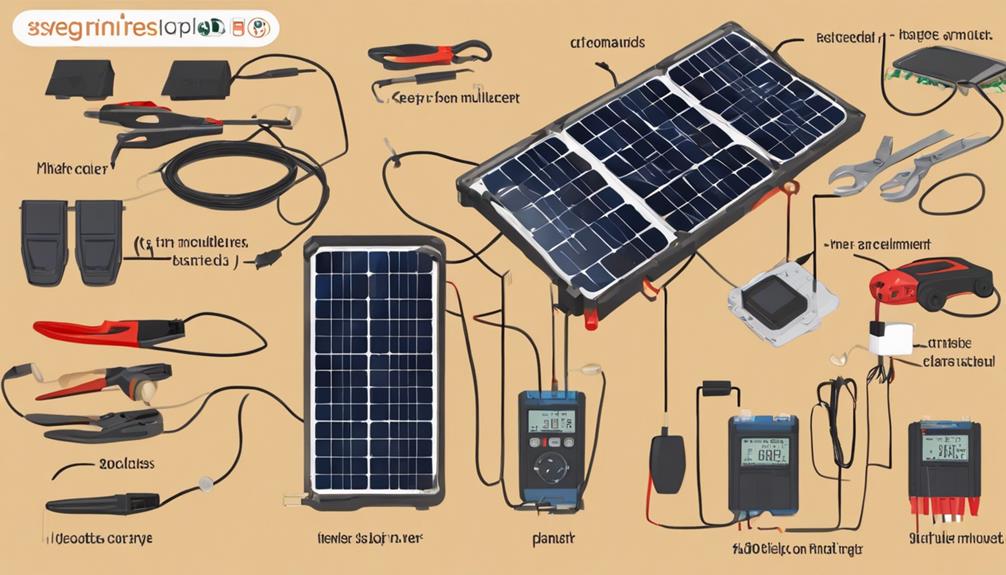
Testing the solar setup involves verifying the functionality and performance of each component in your caravan's solar panel system. To achieve peak performance tracking and maintenance, regularly inspect the panels, charge controller, wiring, and battery connections for any signs of wear or damage. Use a multimeter to check the voltage output of the panels under various lighting conditions.
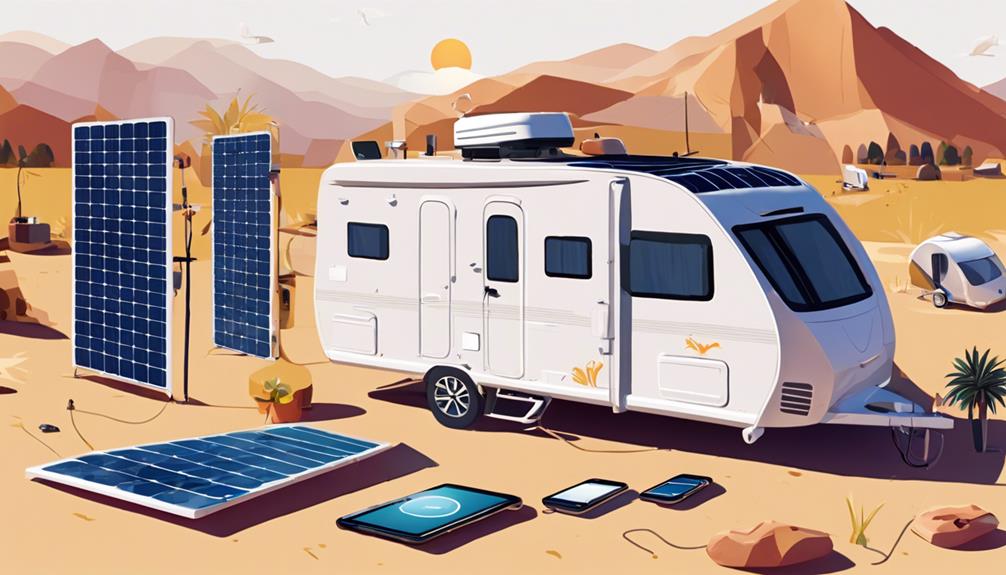
Monitor the charge controller to confirm that it's regulating the charging process correctly. Consider implementing remote monitoring systems for real-time performance tracking. These systems allow you to monitor your caravan's solar setup from a distance and receive alerts if any issues arise.
Remote monitoring also enables proactive maintenance and troubleshooting, ensuring that your solar panel system operates effectively. In case of any discrepancies, use the data collected from remote monitoring to diagnose and resolve problems promptly.
Frequently Asked Questions
Can I Install Solar Panels on a Pop-Top Caravan?
Yes, you can install solar panels on a pop-top caravan. Address wiring considerations for efficient power distribution. Consider weight distribution when placing panels. Be mindful of pop-top limitations. Select appropriate solar panel size for best performance.
Are Flexible Solar Panels Suitable for Caravan Installation?
Flexible solar panels are suitable for caravan installation due to their lightweight nature and ability to conform to curved surfaces. They offer benefits like portability and easy installation but have limitations regarding durability compared to rigid panels.
How Do I Secure Solar Panels on a Caravan Roof?
To secure solar panels on a caravan roof, utilize roof mounting hardware for a sturdy installation. Consider adhesive tape for added support. Tilt brackets can help optimize sunlight exposure. Proper cable management guarantees a tidy setup.
Can I Use a Portable Solar Panel Kit for My Caravan?
You can utilize a portable solar panel kit for your caravan. These panels offer excellent efficiency and are ideal for maintaining battery storage while on the go. Confirm compatibility with your caravan's electrical system for peak performance.
Do I Need to Adjust Solar Panel Angle for Optimal Performance?
To enhance performance, adjusting solar panel tilt is essential. Proper angle guarantees maximum sunlight exposure. When roof mounting, consider the sun's position for installation. Follow these tips for peak efficiency and power generation.
Conclusion
To sum up, by following these steps for DIY caravan solar panel installation, you can guarantee a reliable and efficient power source for your travels.
Evaluating your power requirements, choosing the appropriate panels, strategizing the layout, setting up the charge controller, linking the panels to the battery system, and testing the setup are vital steps in achieving a successful solar installation.
With proper care and maintenance, you can enjoy the advantages of clean and renewable energy on the road.


