What “efficient” solar means for an RV or caravan
Efficiency here isn’t just panel cell efficiency — it’s how many usable watt‑hours (Wh) per day actually reach your house battery and run your loads. Real yield depends on local sun, season, roof orientation and tilt, shade, panel temperature, wiring losses, charger behavior, and battery acceptance (NREL PV performance guidance).
Core parts of a typical RV PV system
- PV module / solar panel(s) or a PV array
- MPPT solar charge controller (default for most modern RV installs)
- House battery: AGM or LiFePO4 (LFP)
- BMS for lithium batteries and a shunt-based battery monitor for SOC tracking
- DC fuse/breaker panel, busbars, isolator, wiring and roof glands
- DC-DC (B2B) charger for reliable alternator charging with smart alternators
- Optional inverter (pure sine for sensitive AC loads)
Step 1 — Audit your daily loads
Make a list and measure where possible. Use the basic formula:
Appliance watts × hours used per day = Wh/day
Include fridge duty cycle, lights, water pump, roof vent fans, heater electronics, phone/laptop charging, Starlink/router, inverter idle draw, and any medical devices or e‑bikes. For AC loads, measure with a plug‑in meter; for 12V loads use an inline monitor.
Step 2 — Convert Wh/day into PV watts
Start with:
Required PV watts ≈ daily Wh ÷ usable peak sun hours, then add margin.
Use PVWatts or a local solar‑resource tool to get realistic peak sun hours for your season and location rather than assuming “5 hours” everywhere (NREL PVWatts). Flat‑mounted roof panels on an RV typically produce less than an optimally tilted residential array; add margin for shade, winter camping, and cloudy regions.
Example (illustrative only): 800 Wh/day ÷ 3.5 peak sun hours ≈ 230 W PV. Add 20–30% margin → ~280–300 W nominal PV.
Step 3 — Size the battery in usable Wh
Battery energy (Wh) = nominal voltage × Ah. For rough comparison: 12V Ah ≈ Wh ÷ 12. But always compare usable Wh and manufacturer depth‑of‑discharge (DoD) guidance.
- AGM: design for conservative DoD (often <50% average) to preserve cycle life (manufacturer guidance).
- LiFePO4/LFP: higher usable capacity and charge acceptance, but require correct charger profile, BMS, and low‑temperature protection (Victron; battery manufacturers).
Warning: many LiFePO4 batteries must not be charged below their specified minimum cell temperature unless the BMS or charger provides cold‑charge protection—verify the battery manual (battery manufacturer/Victron docs).
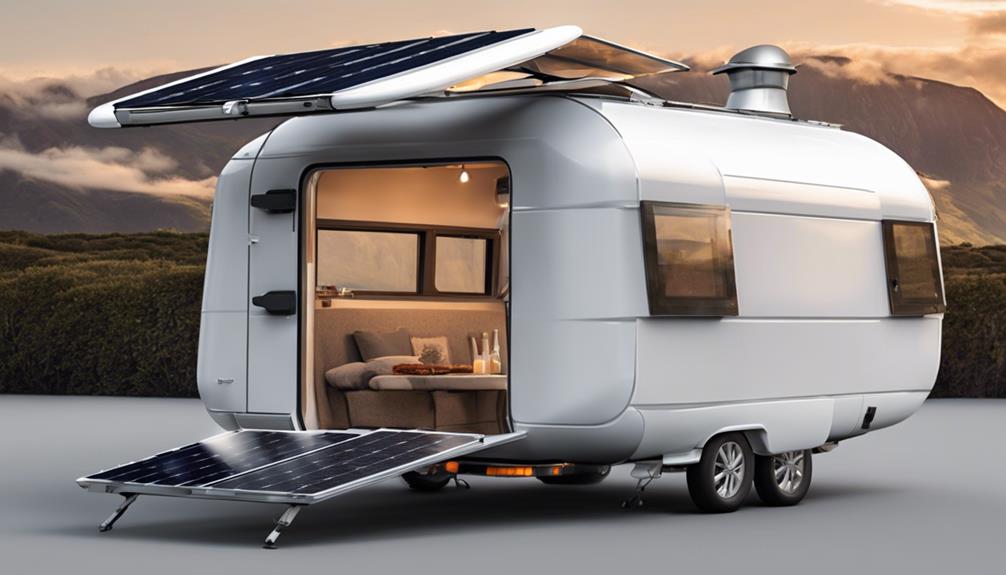
Step 4 — Choose panels for your roof and camping style
- Rigid monocrystalline: durable and common for permanent roof mounting.
- Flexible: useful for curved roofs or weight limits but monitor heat and warranty tradeoffs.
- Portable/folding: place panels in direct sun when parked; tradeoffs include setup and theft risk.
Check temperature coefficient (hot panels lose output) and allow airflow under rigid panels where possible (NREL guidance).
Step 5 — MPPT sizing and PV layout
Match the MPPT to system voltage (12V/24V/48V), total PV watts, panel Voc and the controller’s maximum PV input voltage and current. Account for cold‑weather Voc rise when wiring panels in series (Victron manuals). Key checklist:
- Battery voltage and MPPT model rating (PV volts max / charge amps)
- Panel Voc and temperature coefficient for cold correction
- Series/parallel layout to stay under controller Voc limit
- Fuses/breakers, disconnects, cable ampacity, and voltage drop
Follow the charger manual for commissioning order—many MPPTs require the battery be connected first, then PV (Victron connection sequence).
Step 6 — Alternator charging and DC-DC chargers
Modern smart/variable‑voltage alternators can prevent full charging if connected directly. A DC‑DC (B2B) charger gives controlled alternator charging, protects the starter/alternator, and provides proper charge profiles for LiFePO4 (Victron DC‑DC guidance).
Step 7 — Inverters only if you need AC
Choose pure sine inverters for sensitive or motor loads, sized by continuous and surge ratings. Remember inverter idle draw and inefficiency when adding to your Wh budget. High‑power AC appliances often make shore power, generator, or alternative fuels more practical than solar‑only.
Safety checklist: wiring, fusing, and standards
- Fuse close to each source: battery, alternator/DC‑DC input, MPPT output.
- Use DC‑rated breakers/fuses with correct voltage and interrupt rating; size wire for ampacity and voltage drop (Victron Wiring guidance).
- Use roof glands, sealed penetrations, strain relief, and UV‑rated cable outside.
- Keep a system diagram, label circuits, and mount components with ventilation and service access.
- Know applicable standards (NFPA 1192, ANSI/RVIA DC Standard, NEC) and that rules vary by country/region (RVIA standards reference).
Monitoring and maintenance
Install a shunt‑based battery monitor for accurate SOC and track expected vs actual production. Clean panels, inspect mounts and sealant, and recheck charge settings after battery or controller changes.
Final notes & disclaimer
This guide aims to give practical planning steps and safety principles, but it cannot replace manufacturer manuals, local electrical codes, or a qualified installer—especially for high‑current lithium installs, inverter/shore‑power work, or when local law requires certified technicians. Always follow component manuals and local regulations (Victron manuals, battery manufacturer guidance, and NREL resources).


")